Use this guide when someone asks, “What does a strong first widget session actually look like?” It walks through one clean image flow from blank state to a finished branded asset using the exact controls shown in the screenshots.
What you’ll learn
- How to reset the widget to a clean first-run image session
- Which literal prompt to use for a polished first demo
- How to explain preview using the exact action labels the user sees
- How the built-in branding editor turns a raw image into a finished launch asset
Before you start
- Log in to your ImageLayer organization
- Open Generate
- Stay in Image mode with General selected
- Keep LinkedIn Post (4:5) selected in Platform preset
- Keep an optional light frame overlay or logo file ready if you want to demonstrate extra branding controls after the first preview
Start from a clean Image session with the 4:5 preset already in place
Open /dashboard/generate/ and reset the widget before you narrate anything else.
- Confirm
Imageis active in the mode selector. - Keep
Generalselected in the content-type tabs. - Leave the main prompt box empty.
- Leave the
Try a promptchips untouched for this walkthrough. - Keep
SketchandReferencesclosed for this first walkthrough. - Keep
Platform presetonLinkedIn Post (4:5).
Expected result
You are looking at the same first-run state a new operator will see: empty prompt, suggestion chips visible, and the portrait preset ready for the launch graphic.
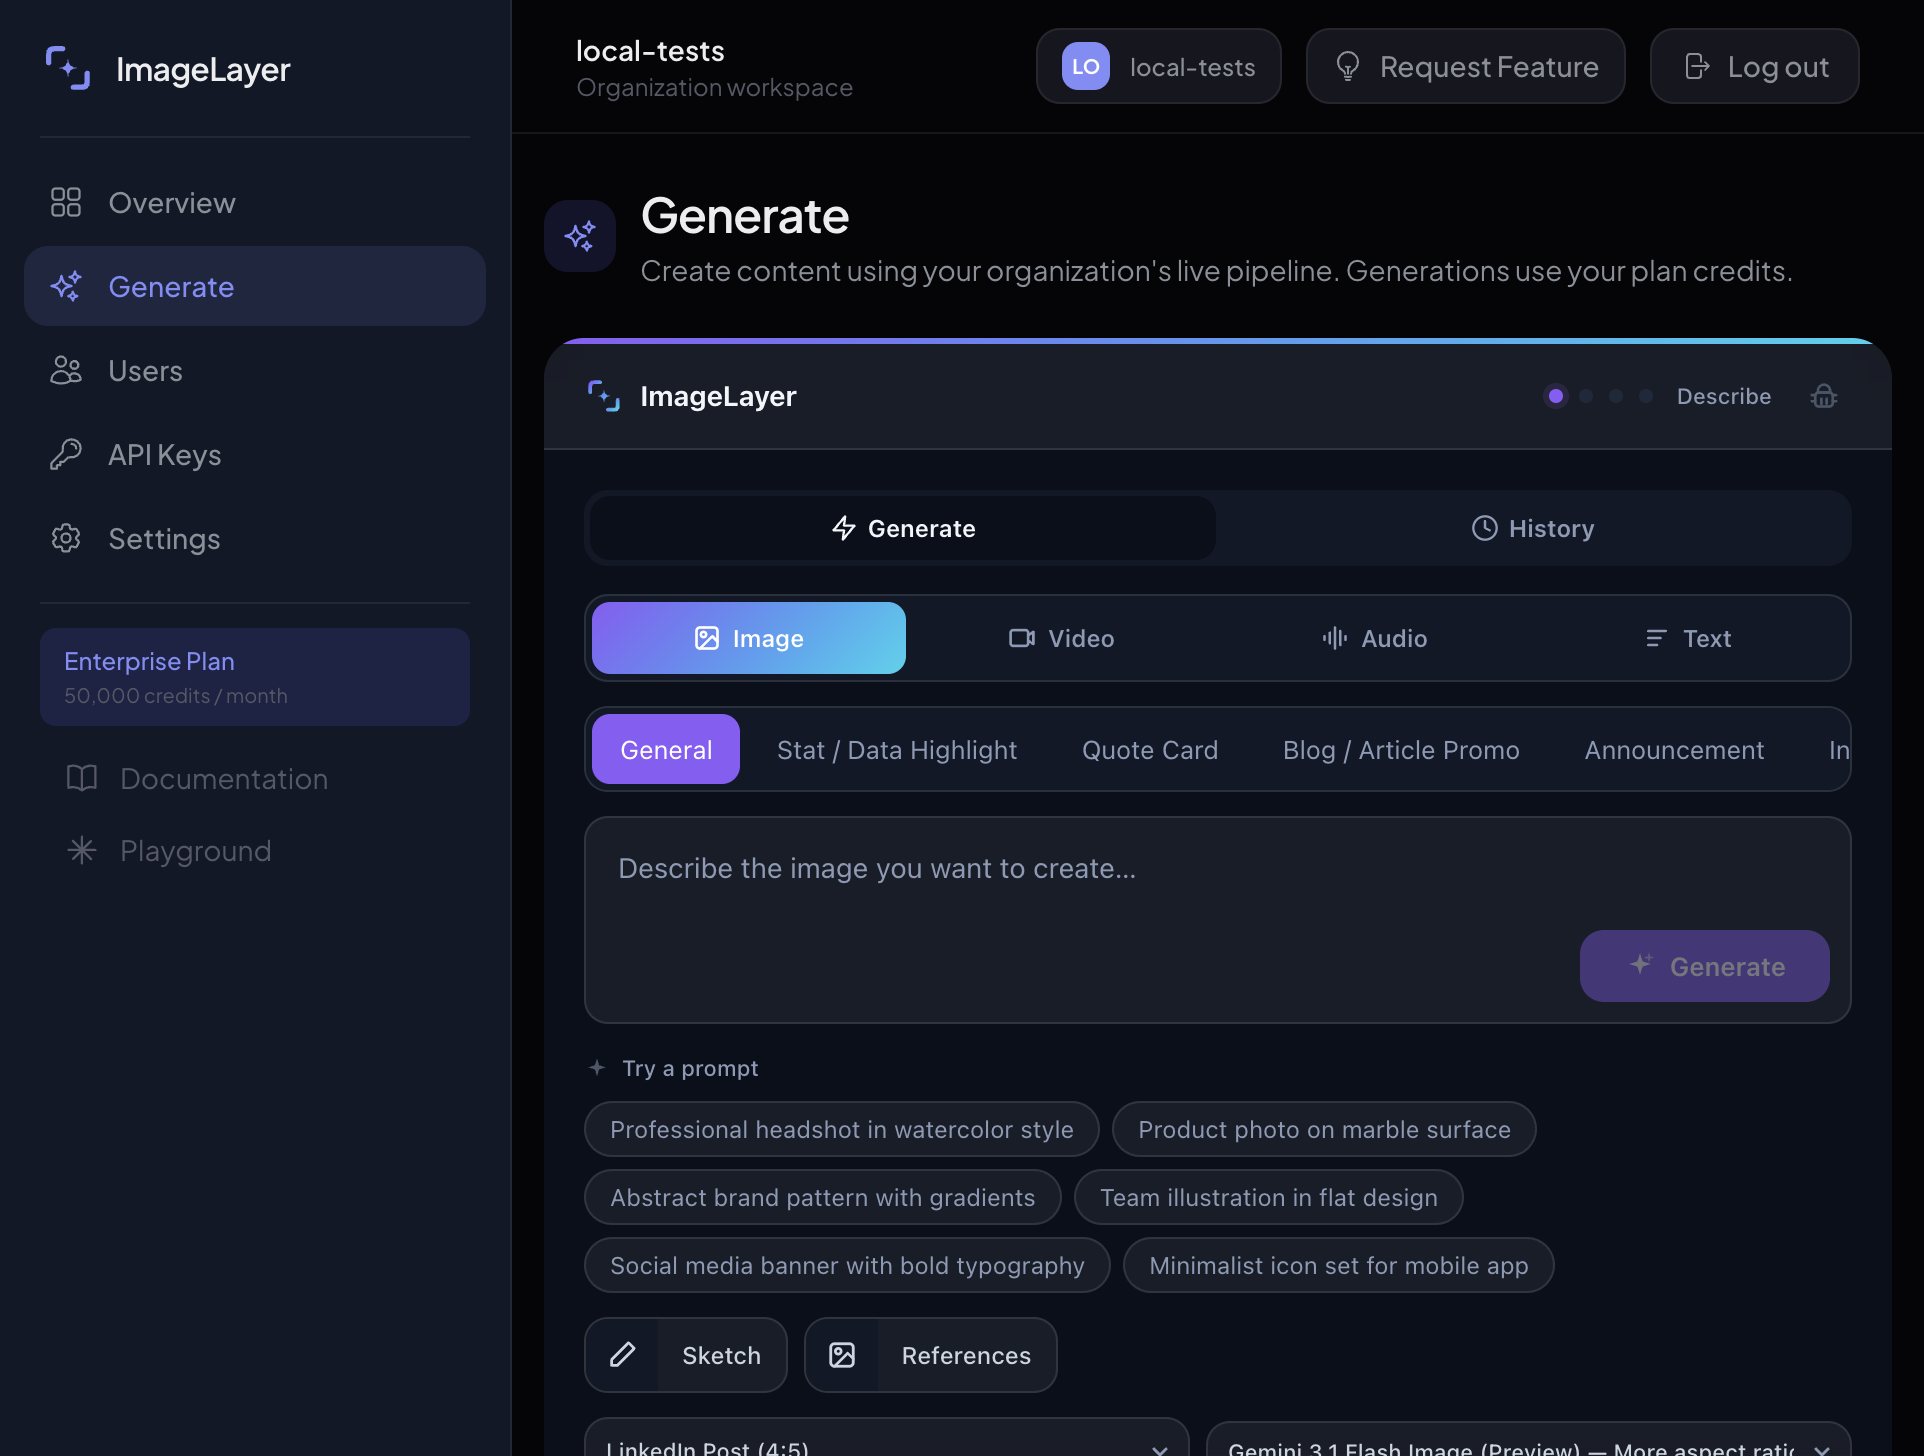
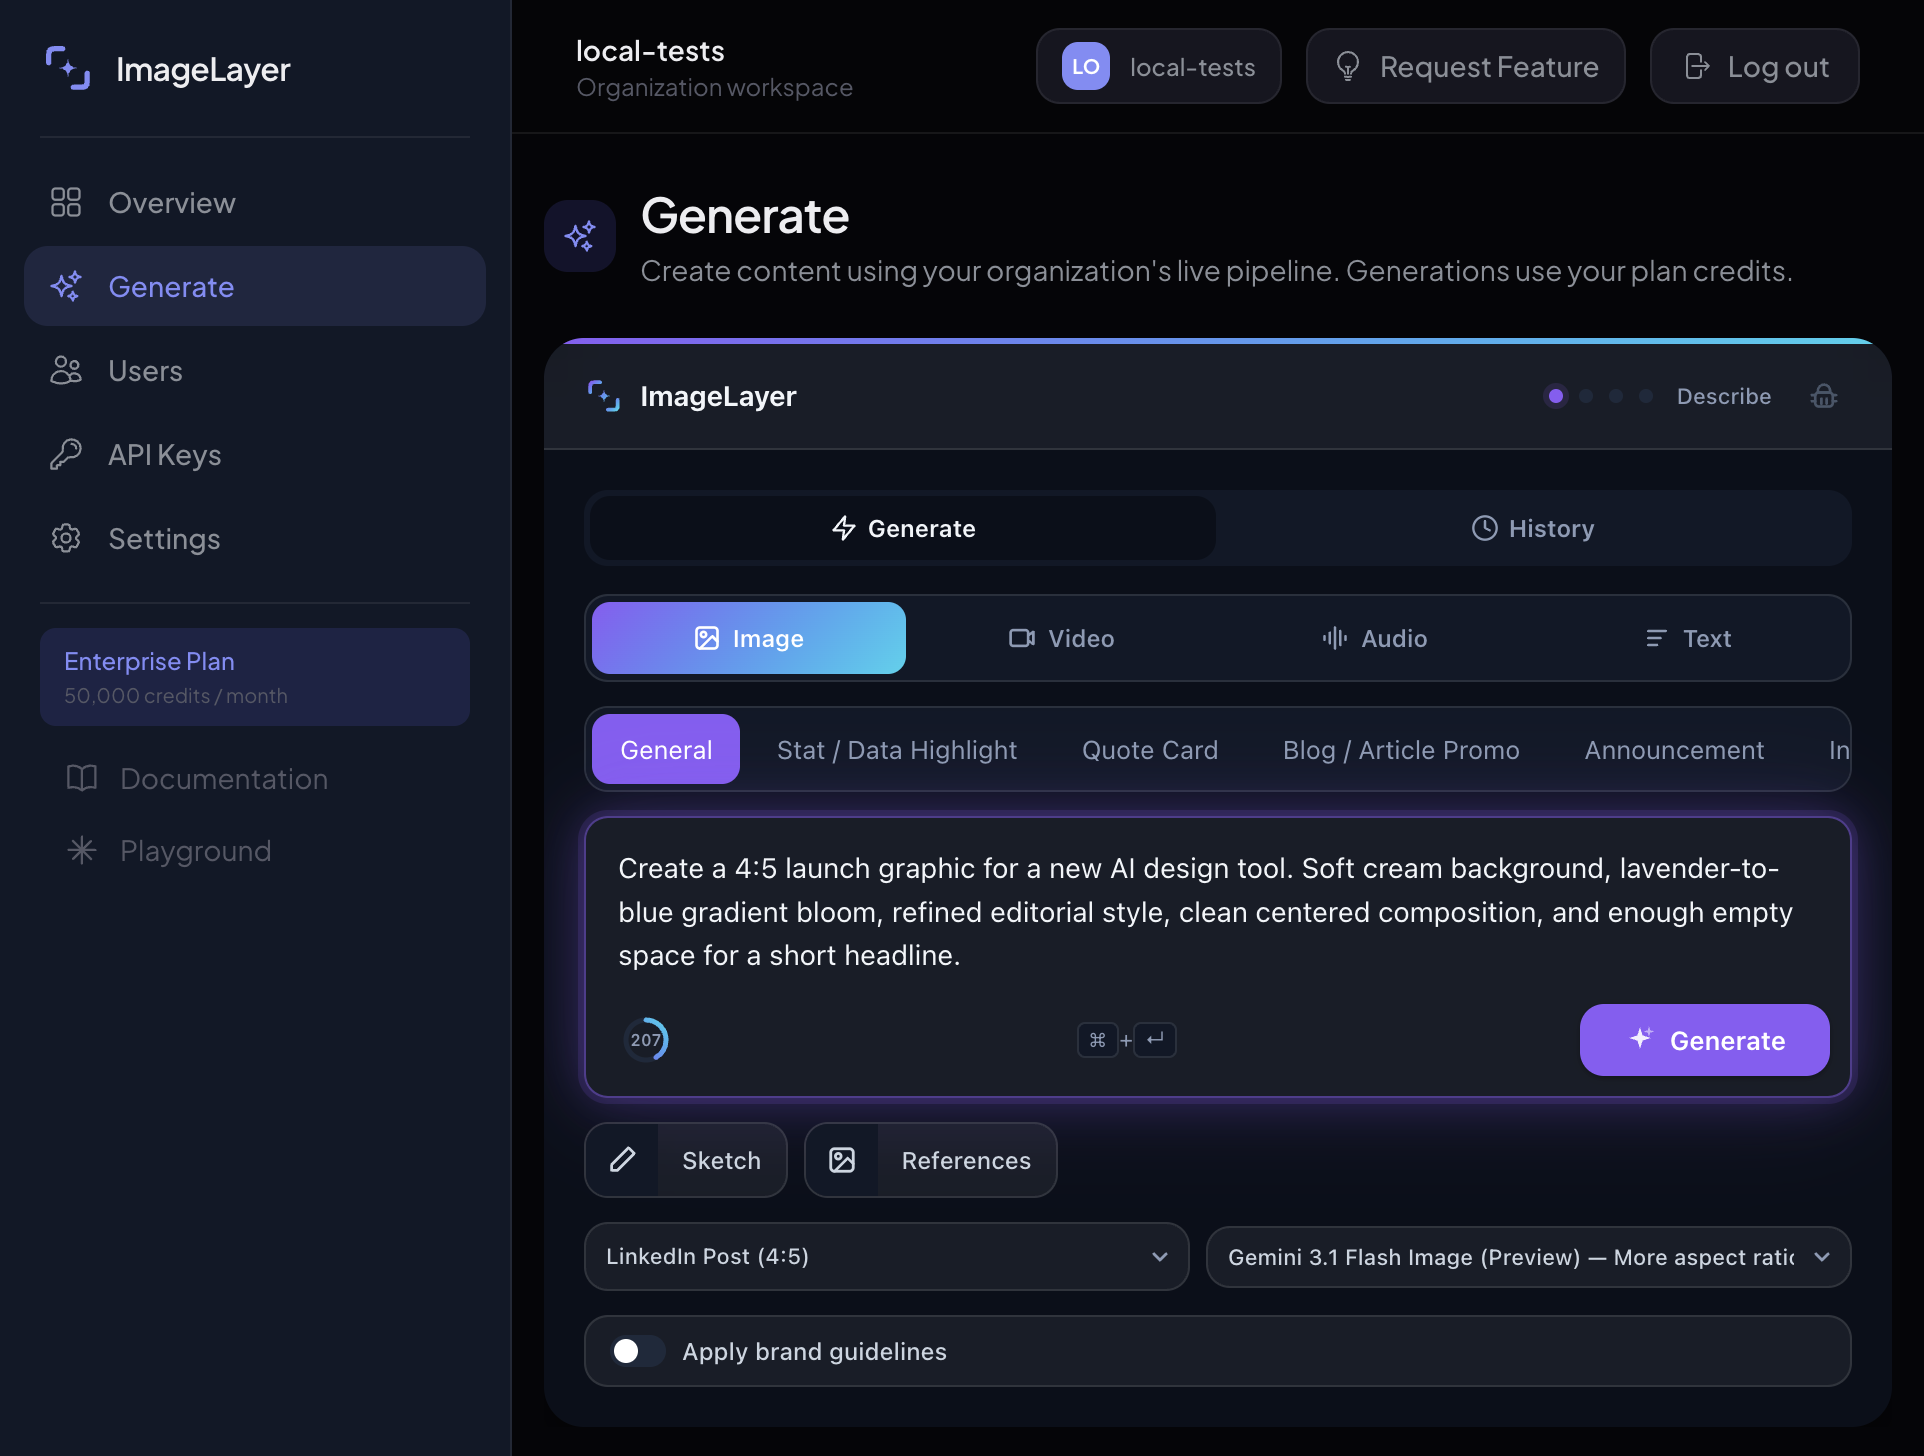
Paste one polished prompt and run it without extra inputs
Paste this exact prompt into the main textarea:
Create a 4:5 launch graphic for a new AI design tool. Soft cream background, lavender-to-blue gradient bloom, refined editorial style, clean centered composition, and enough empty space for a short headline.- Do not upload references for this first run.
- Do not open
Sketch. - Keep
Platform presetonLinkedIn Post (4:5). - Keep the image model shown in the screenshot selected.
- Click
Generate.
Expected result
The widget submits one clean image request and moves into generation without any extra steering controls.
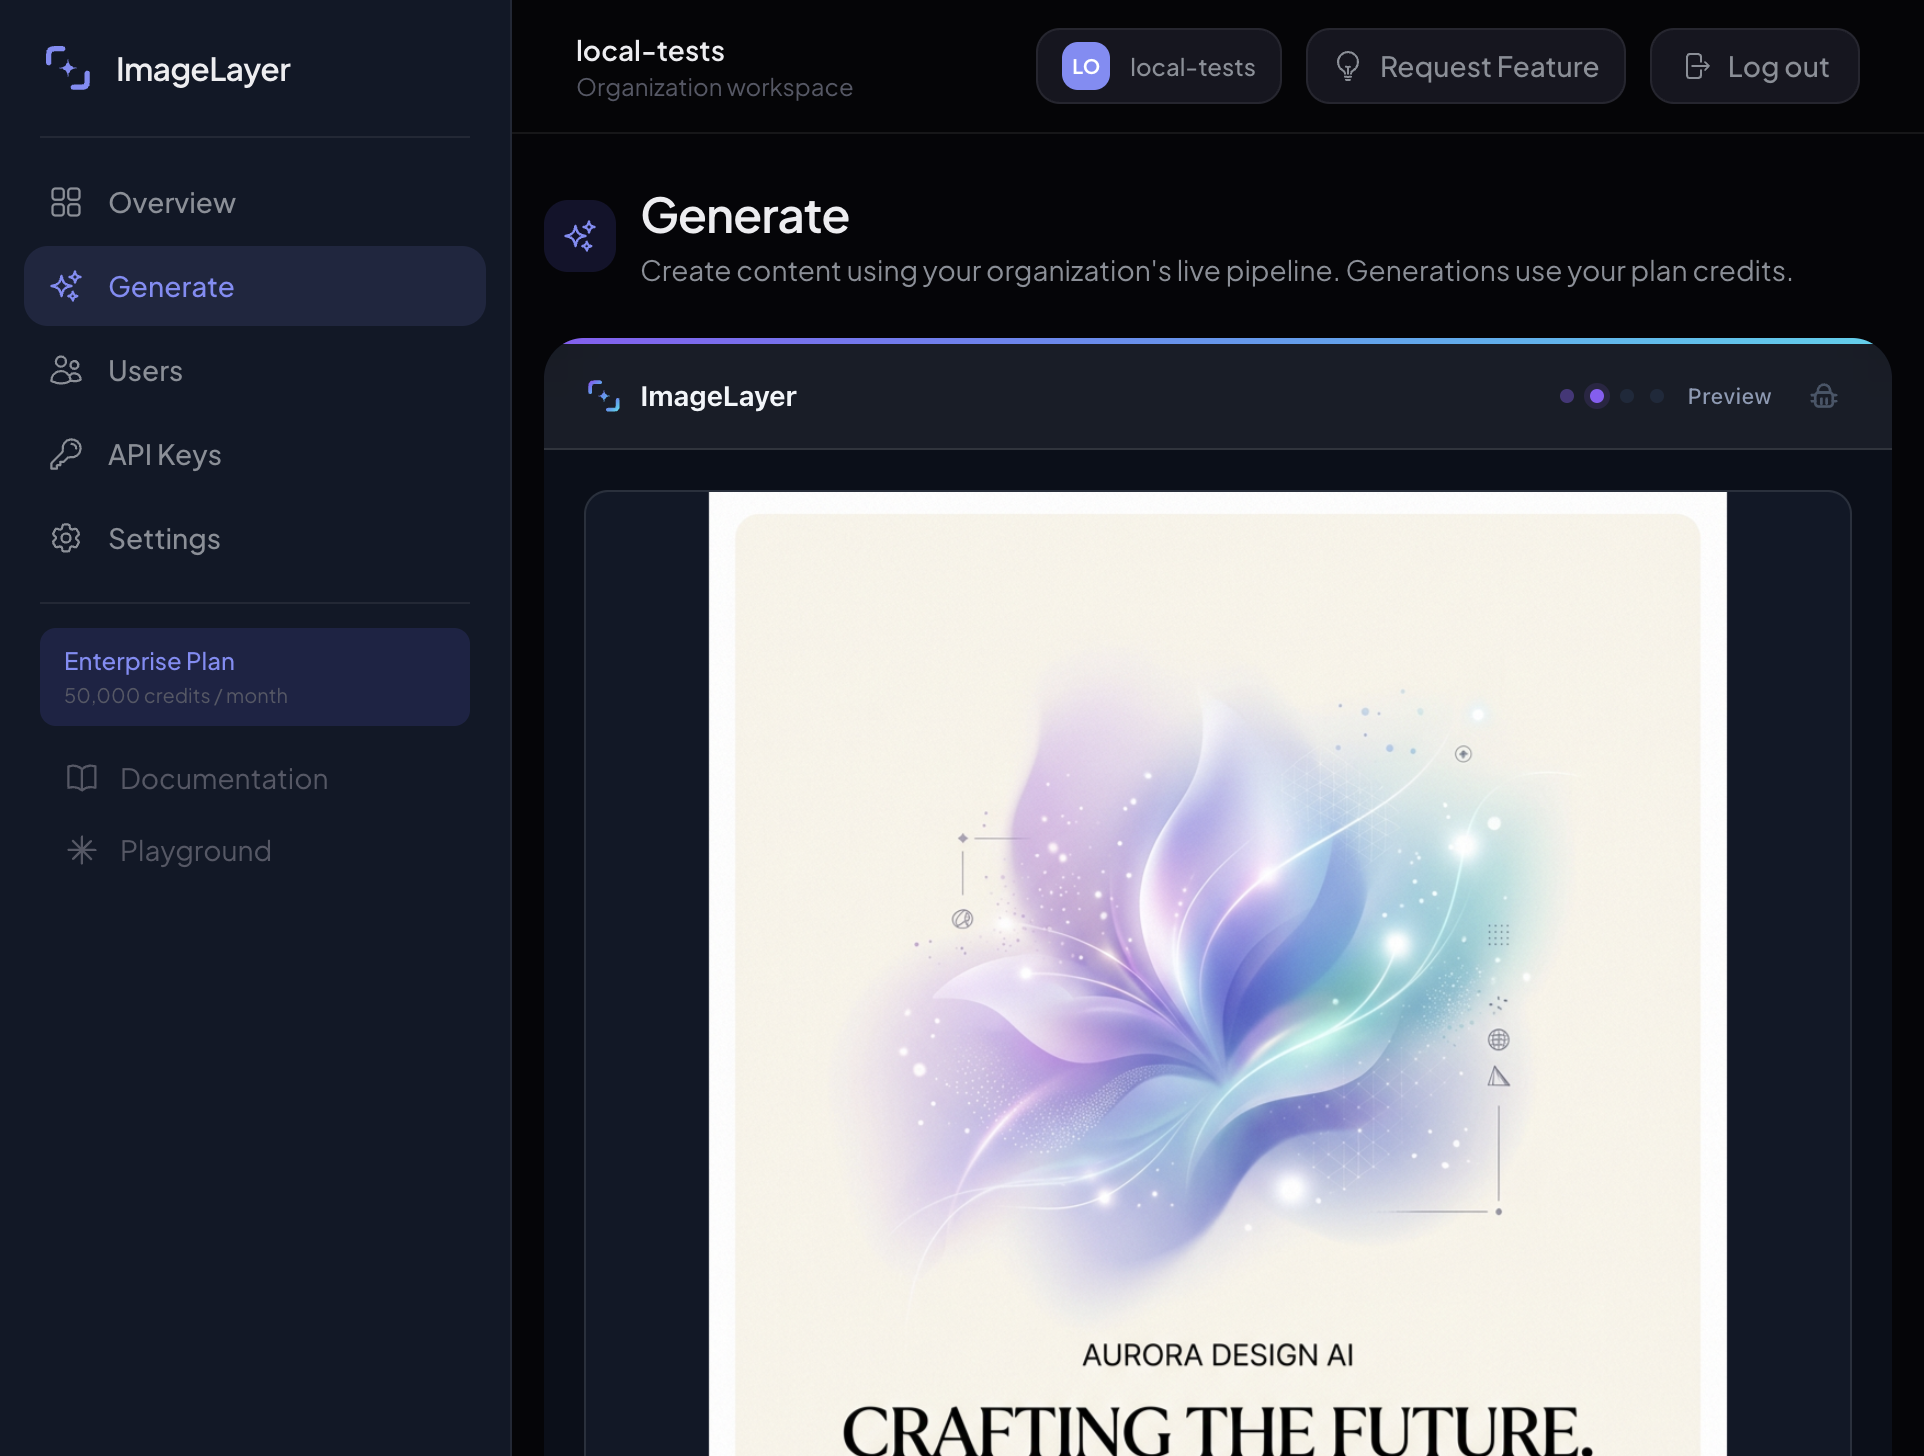
Use preview the way a real end user would
Once the result appears, narrate the decision using the exact buttons in the footer instead of speaking in generalities.
- Use
Generate againwhen the composition is close but the draft is not strong enough. - Use
Edit promptwhen the brief itself needs to change. - Use
Saveif the raw image is already good enough on its own. - Use
Brand itwhen the image is approved and ready for finishing.
Expected result
The operator can either refine the request, accept the raw image, or move directly into finishing.
Open the branding editor, review the poster, and finalize it
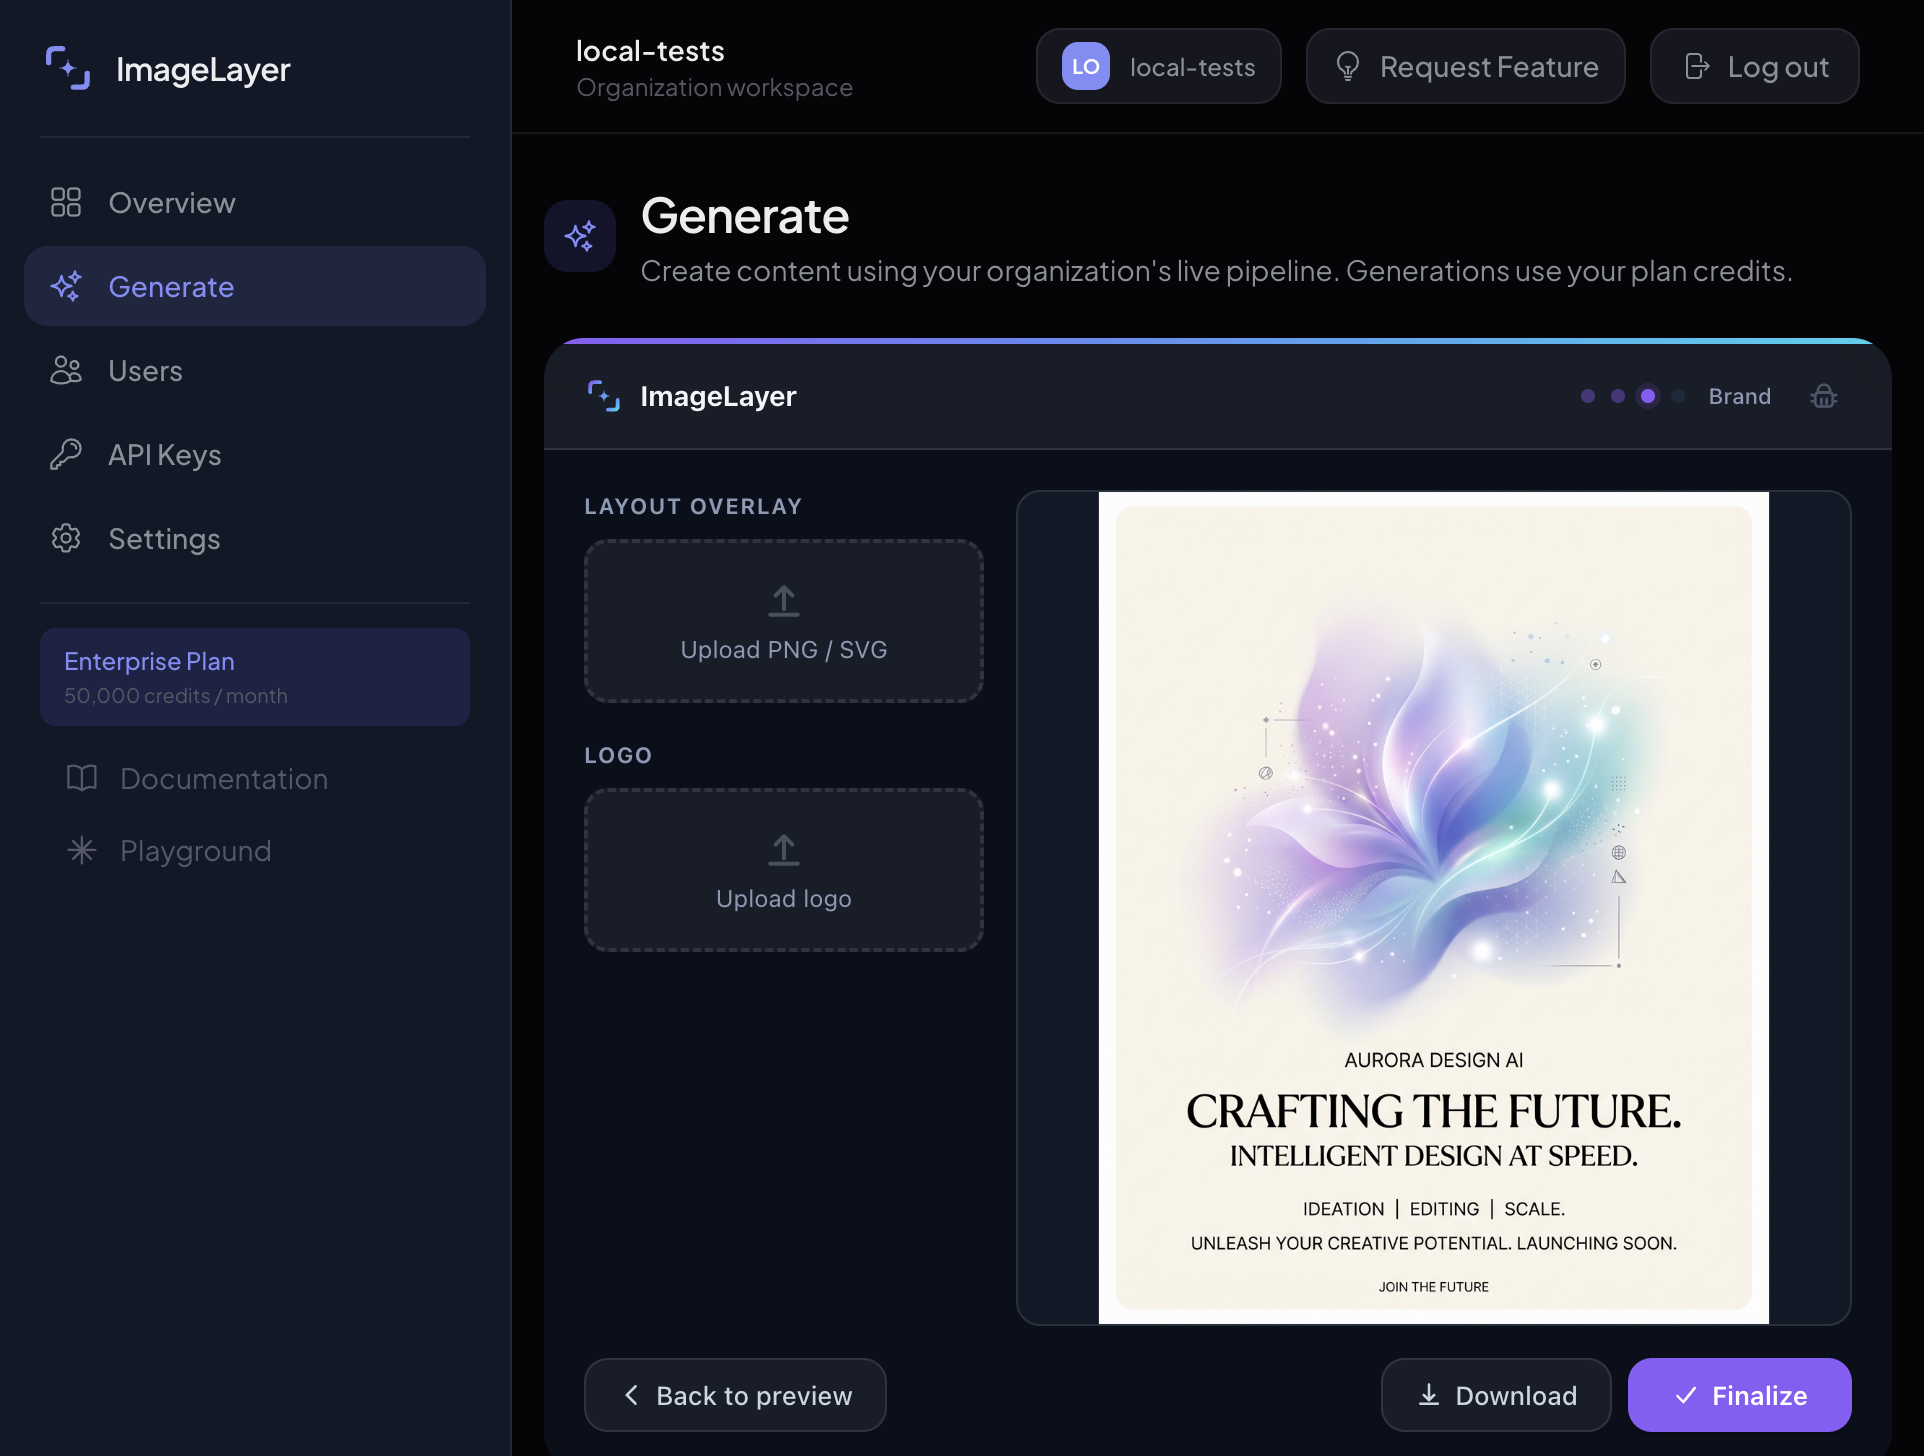
After clicking Brand it, keep the walkthrough literal to the controls visible in this state instead of describing a different finishing setup.
- Click
Brand itfrom preview to move into the editor. - Review the poster on the canvas and confirm the composition is strong enough to keep.
- If you want to demonstrate extra finishing controls, click
Upload PNG / SVGorUpload logoafter the first pass. - Use
Back to previewif you want to return to the raw image before finalizing. - Click
FinalizeorDownload.
Expected result
The session ends with the same launch poster shown in the editor preview, ready to download immediately.
Final sample output
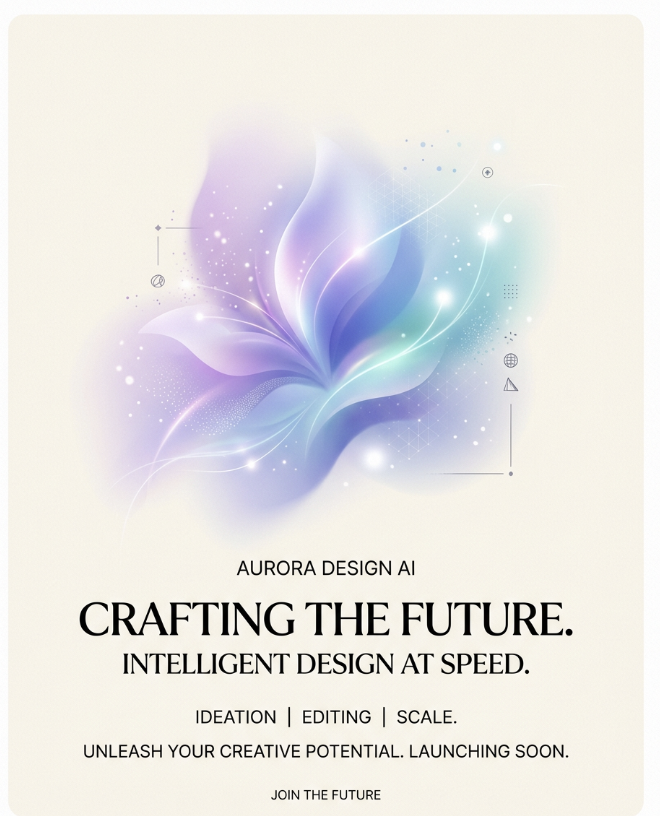
This saved result comes from the same editor state shown above, so the reader can inspect the exact poster they just saw in the widget.
What controls this experience
- Output mode selection in the widget header
- Prompt input and
Generatein the main image workflow - Preview actions:
Brand it,Save,Generate again, andEdit prompt - Branding editor controls for
Layout overlay,Opacity,Upload logo,Size, andPosition
What to read next
- Image Generation for prompt, sketch, and reference workflows
- Branding & Guidelines for the full brand-system and post-generation finishing flow
- Content Type Templates if your team needs repeatable graphic workflows instead of open-ended prompts