Video mode needs a slightly different demo rhythm than images or text. The workflow is still compact, but the operator has to explain waiting time and preview states clearly so the product feels deliberate instead of slow.
What you’ll learn
- Which settings to lock for the fast setup pass shown in the screenshots
- How to write a motion prompt instead of a still-image prompt
- How to narrate the in-progress state without leaving awkward silence during a longer render
- How the optional
Add voiceoverpass works after the base clip is ready
Before you start
- Open Generate
- Switch to Video mode
- Keep the setup pass shown in this walkthrough on
4sand720p - Use one short prompt that is easy to evaluate on screen
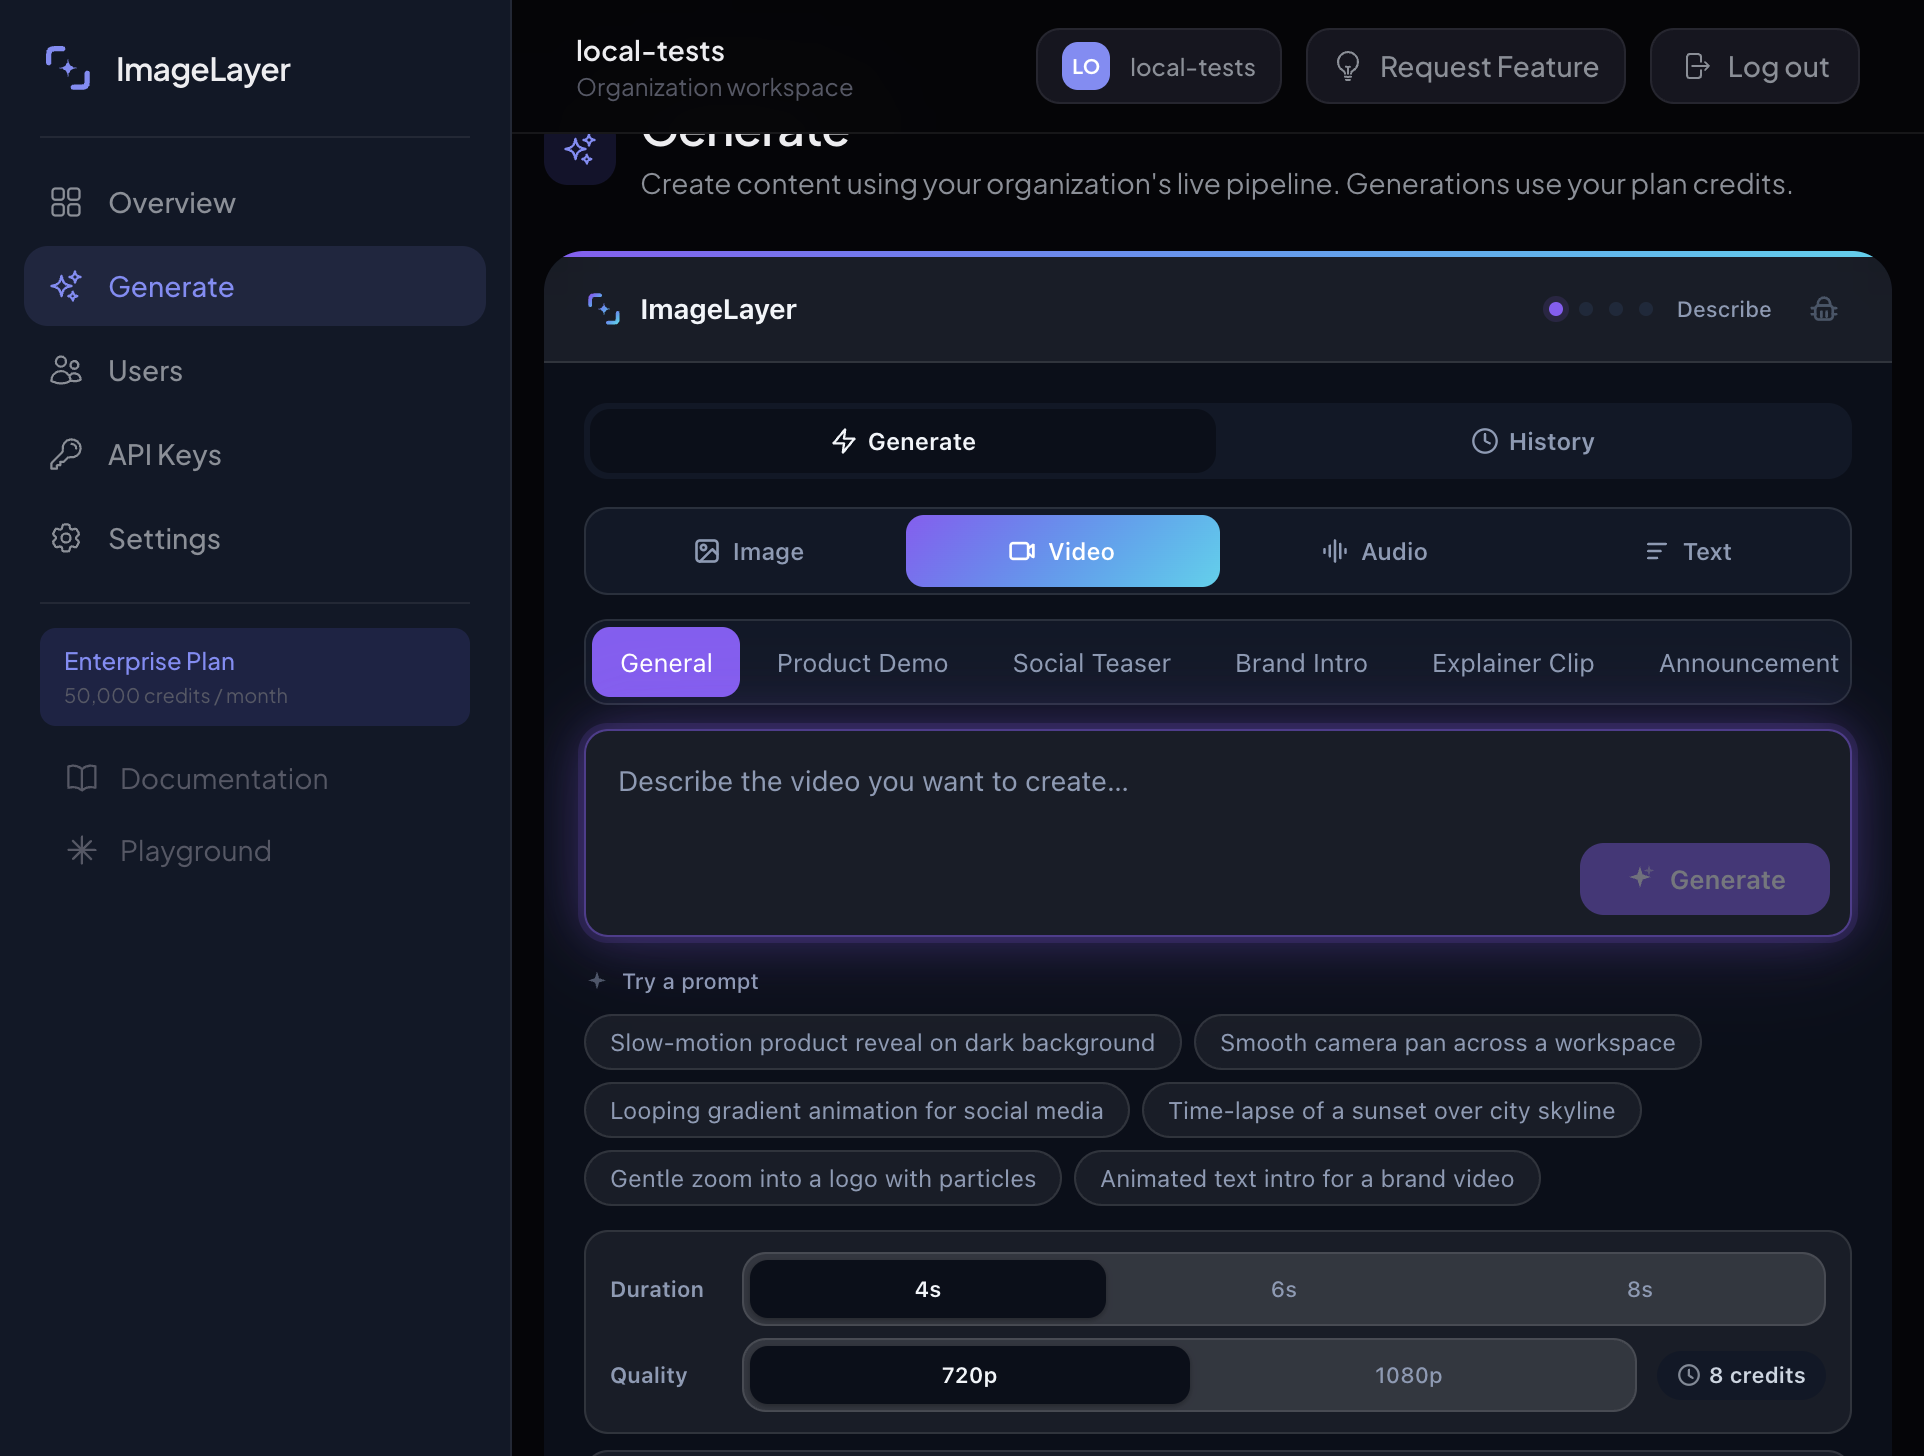
Open Video mode and start with a fast 4-second 720p setup pass
Click Video in the mode selector before typing anything. Then lock the first run to the same settings shown in the screenshot.
- Set
Durationto4s. - Set
Qualityto720p. - Stay on
Generalfor this setup pass. - Use this faster path to validate motion direction before you spend more time on a longer export.
Expected result
The request is configured for a faster approval pass before the team commits to a longer or higher-fidelity export.
Use a prompt that names the scene, camera move, and mood
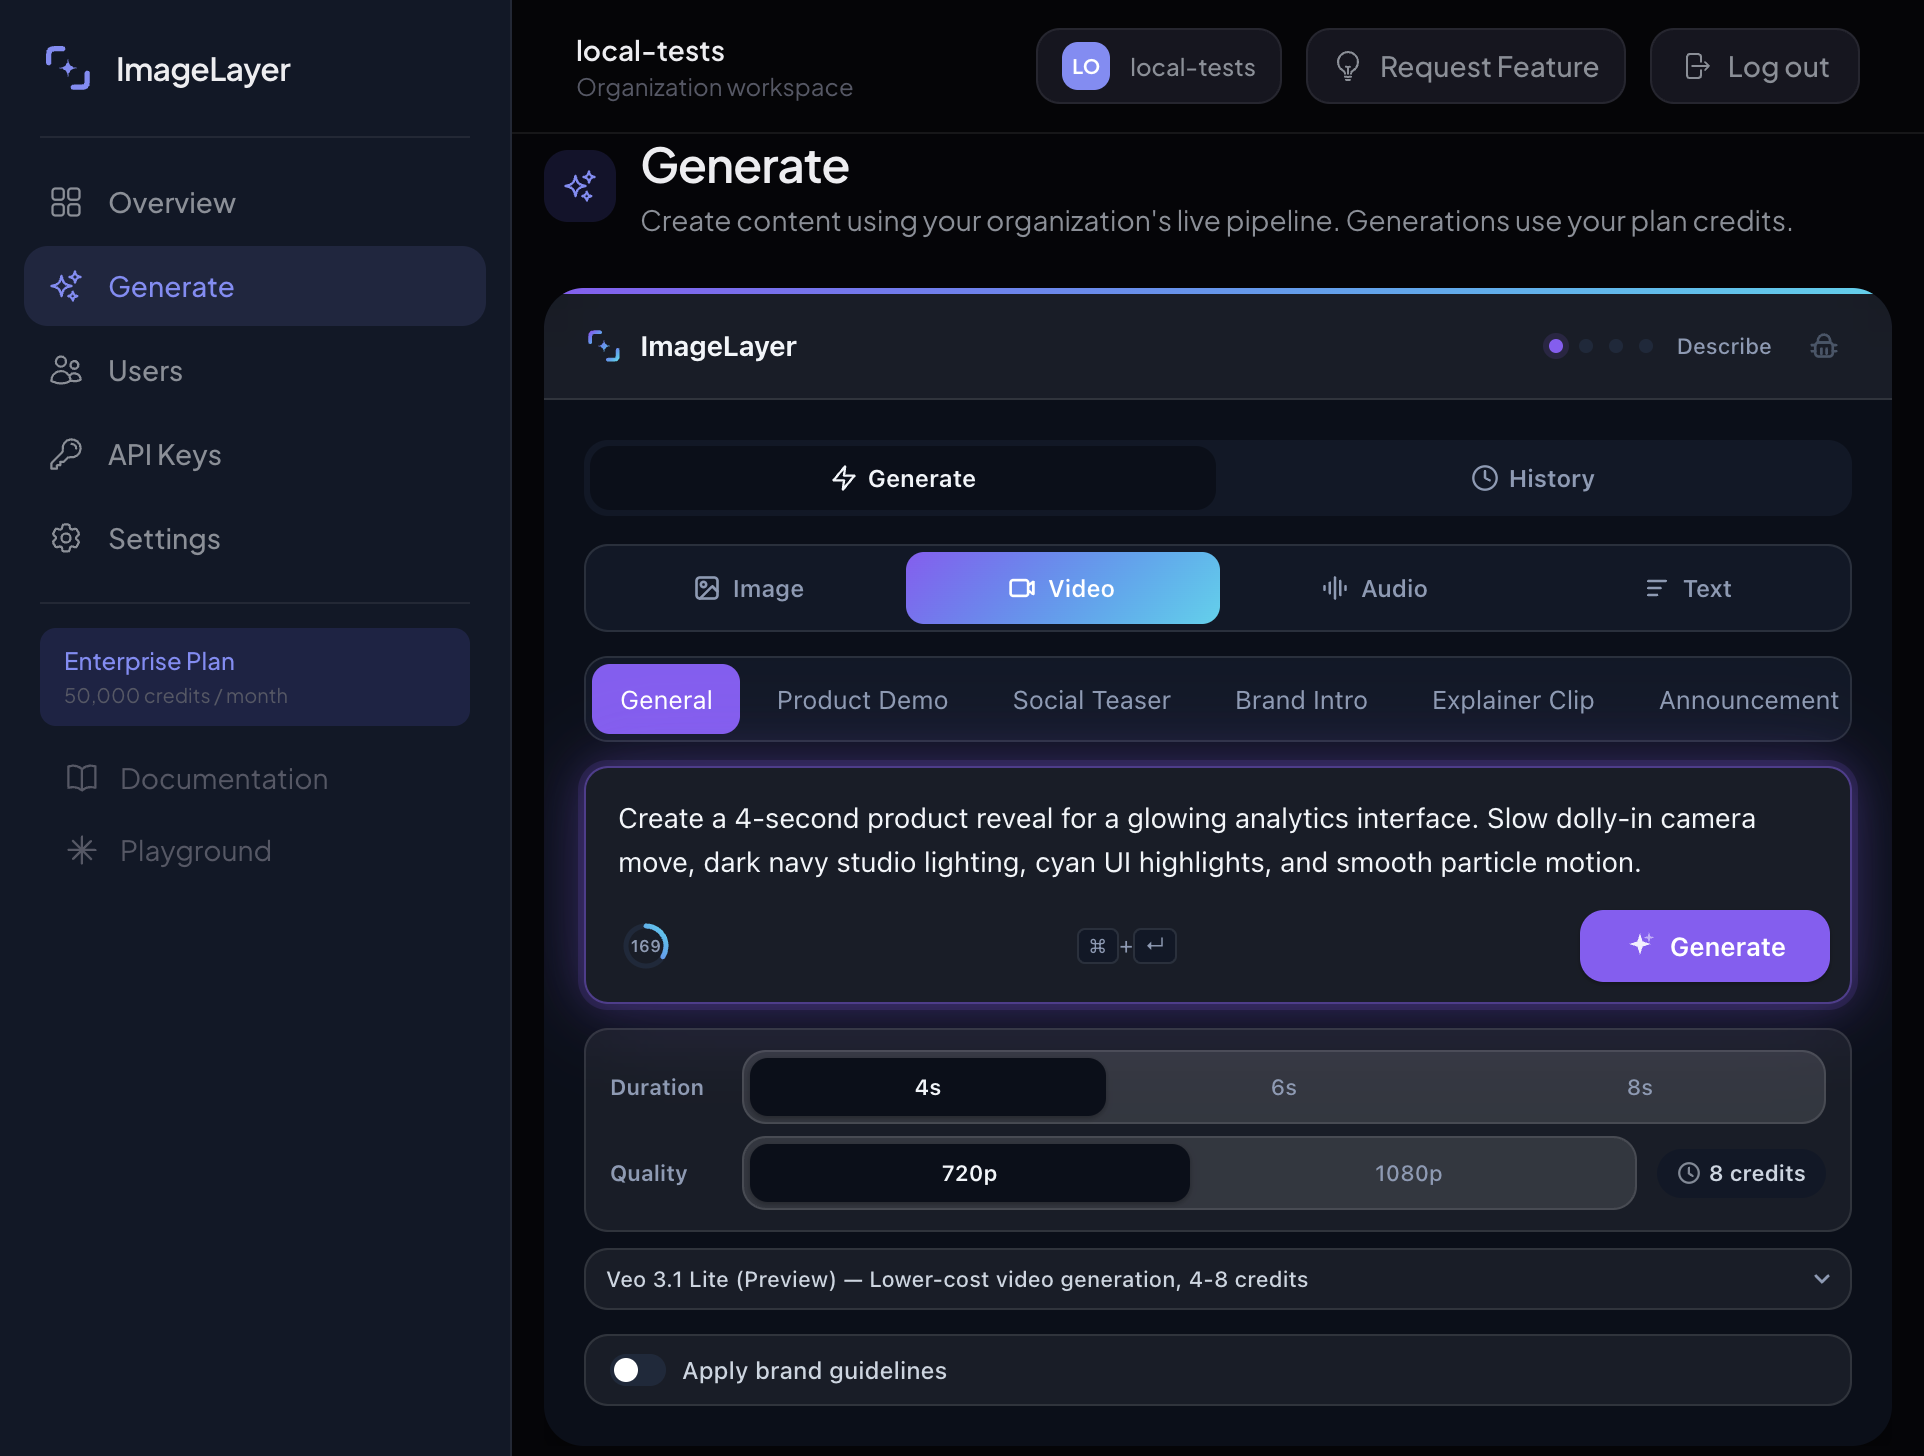
Paste this exact prompt into the textarea:
Create a 4-second product reveal for a glowing analytics interface. Slow dolly-in camera move, dark navy studio lighting, cyan UI highlights, and smooth particle motion.- Name the subject first: the glowing analytics interface.
- Name the movement second: a slow dolly-in camera move.
- Name the mood third: dark, polished, and cinematic.
- Keep the model shown in the screenshot selected for this setup pass.
- Leave
Apply brand guidelinesoff for this isolated video demo. - Click
Generate.
Expected result
The render reads like an intentional cinematic sequence instead of a short placeholder animation.
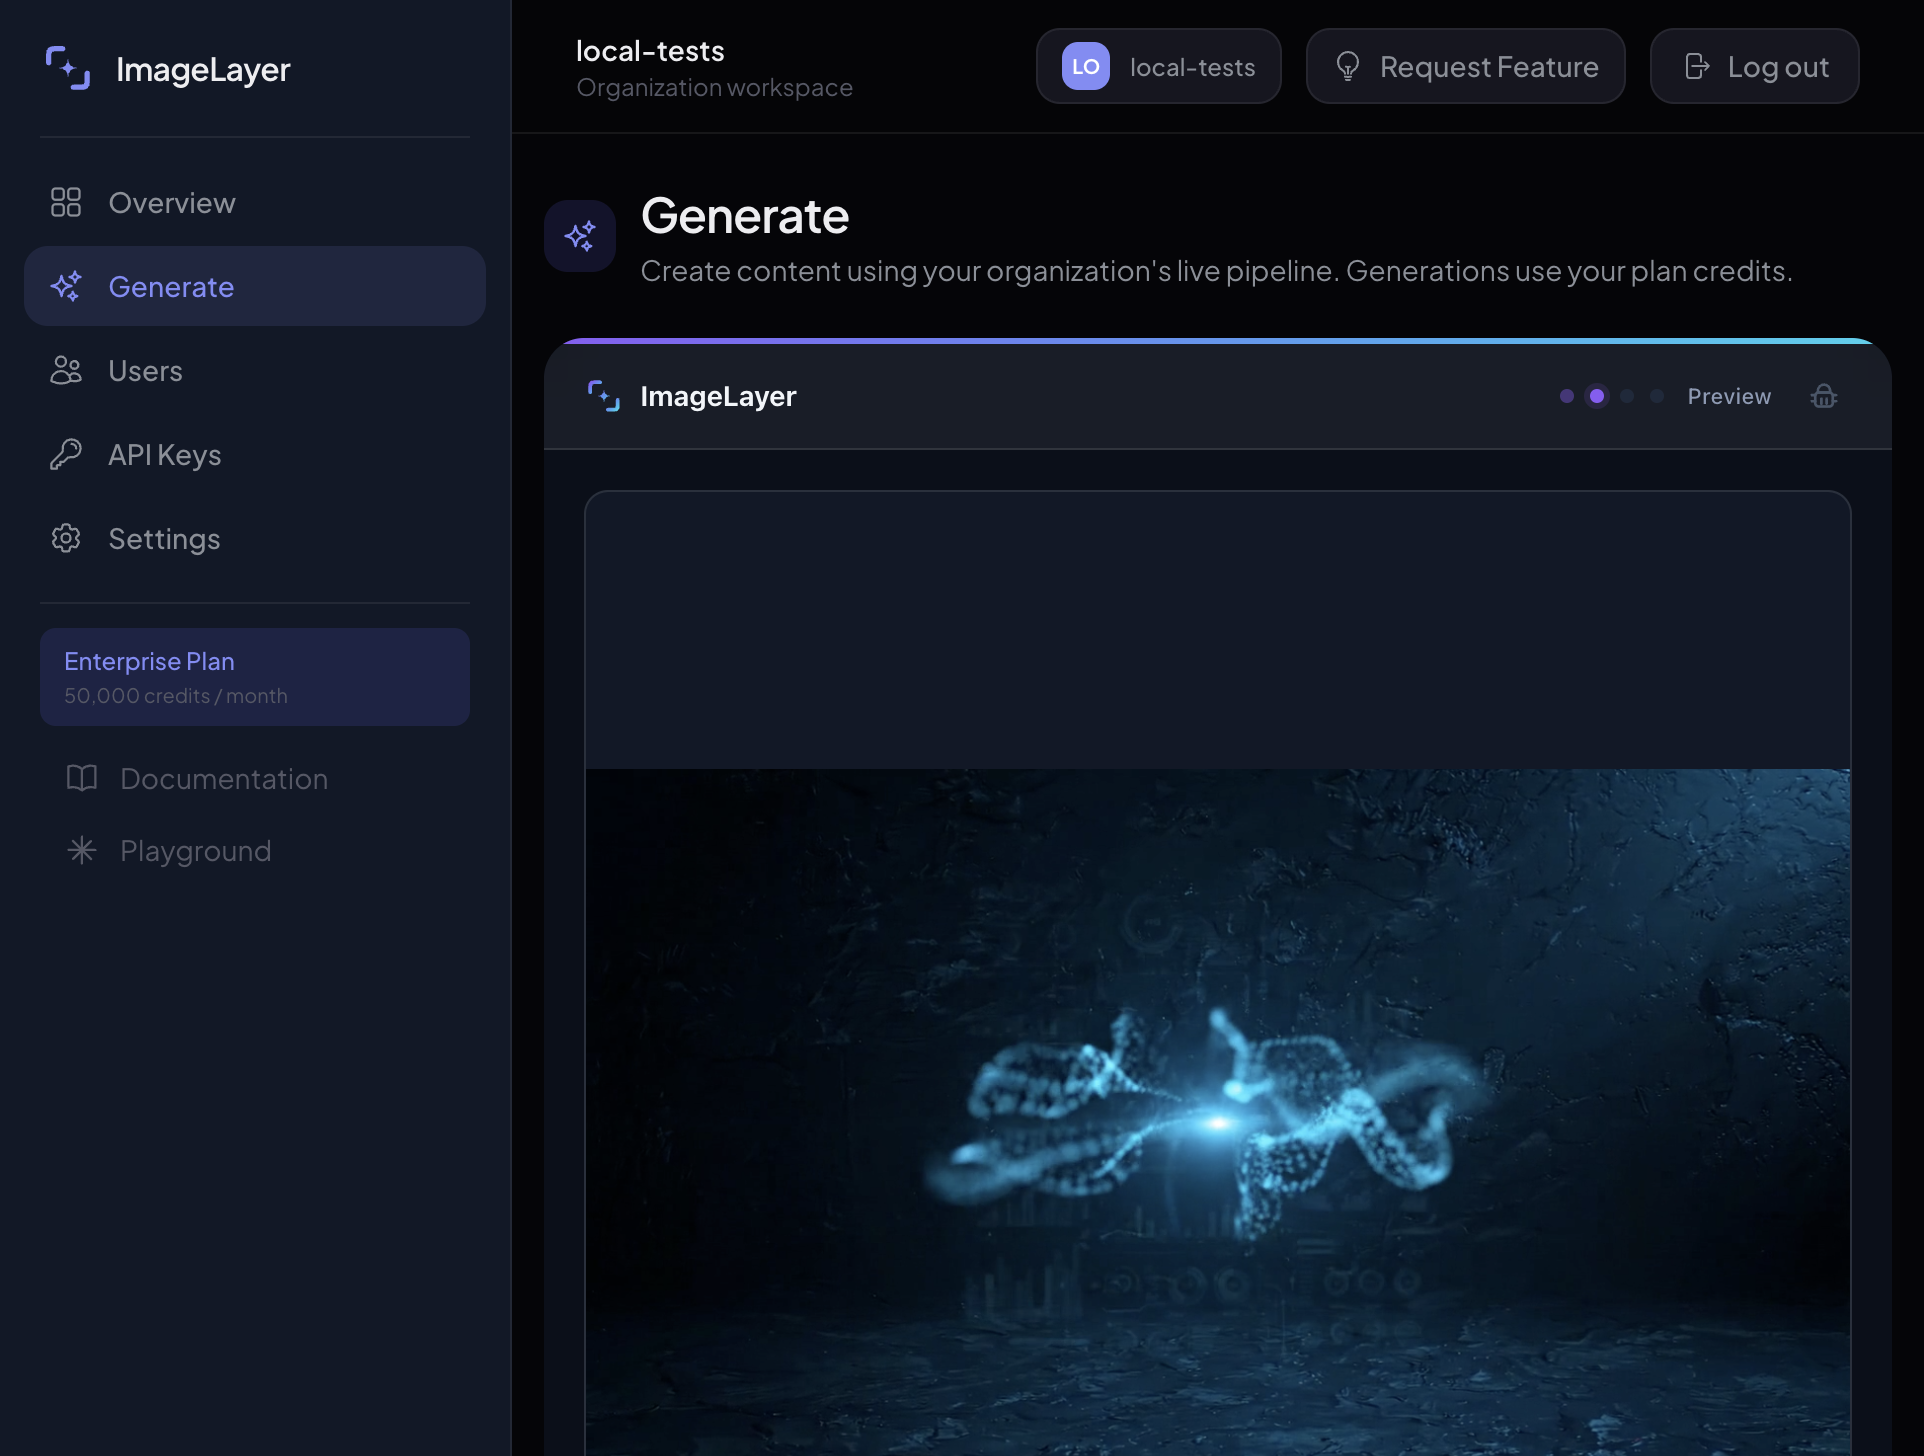
Use the in-progress preview to explain queue and render time
Once the request is submitted, keep talking. This is where good demos either build trust or make the workflow feel stuck.
- Explain that video jobs take longer than image jobs by design.
- Call out visible progress in the preview area instead of treating the wait as dead time.
- Tell the customer to wait for the full preview before deciding whether the clip is good enough.
- Do not restart the job if the preview is actively populating.
Expected result
The customer understands that the job is still processing and that the waiting state is expected for video generation.
Open Add voiceover only after the base clip is worth keeping
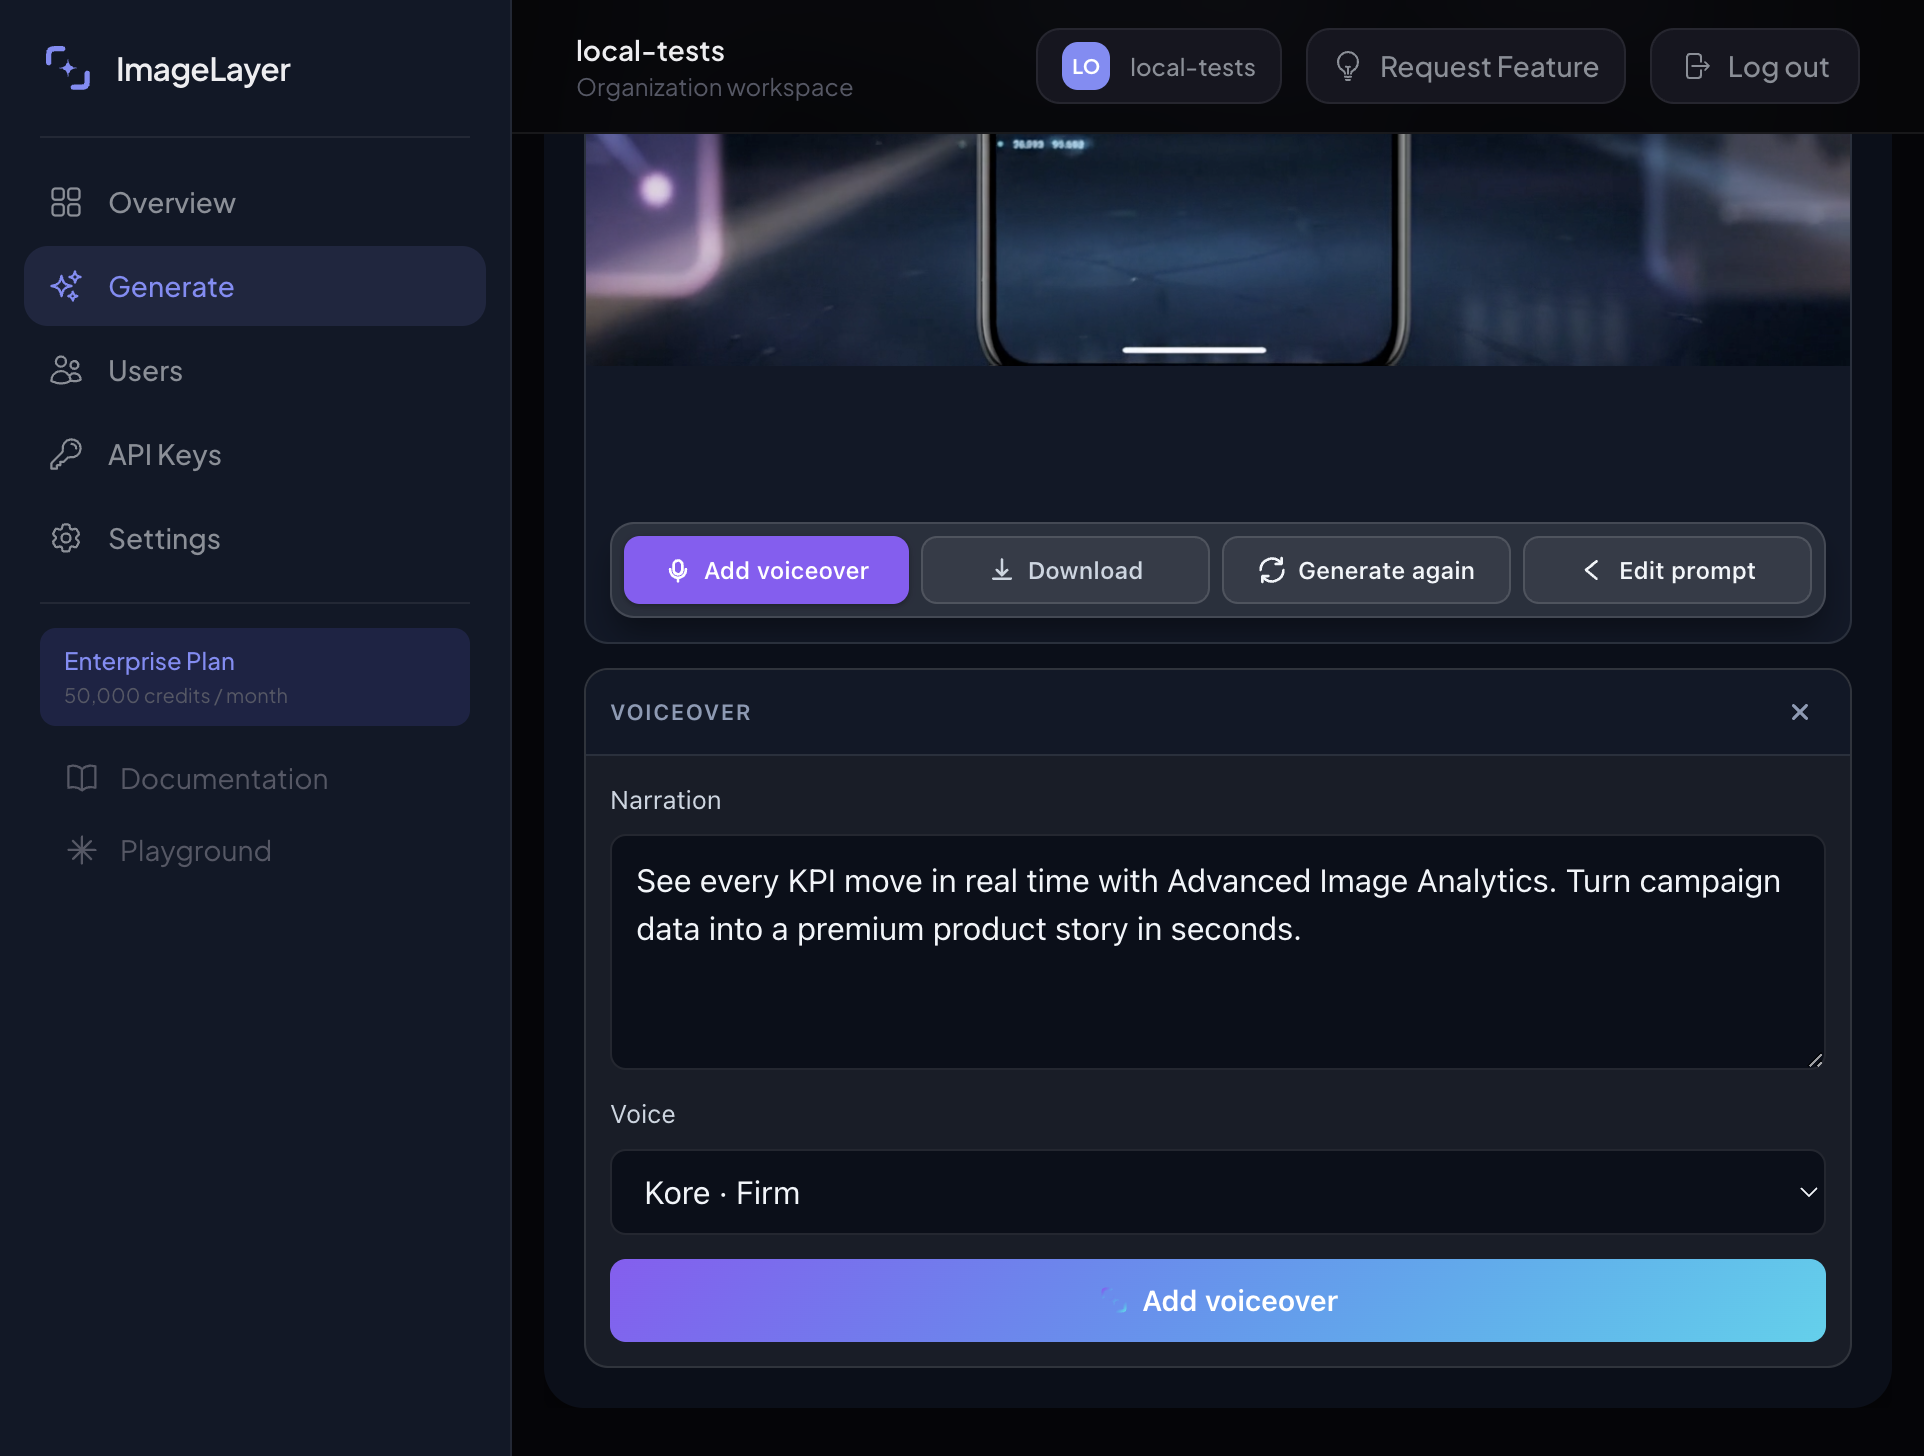
After the preview is ready, click Add voiceover and use a short narration script.
- Paste this exact narration:
See every KPI move in real time with Advanced Image Analytics. Turn campaign data into a premium product story in seconds. - Keep the voice on
Kore - Firm. - Submit voiceover only after the base clip is approved.
- If voiceover is unavailable in your org, keep the silent clip and download the base video anyway.
Expected result
The team can turn one approved clip into a narrated asset without leaving the same widget session.
Sample generated clip
This guide embeds the longer exported hero clip used for this motion direction, so the reader can inspect the finished showcase asset after the setup pass shown above.
Recommended rollout order
- Start with one short
4s,720psetup pass to validate the motion direction quickly - Teach the preview and waiting state before introducing voiceover
- Move to longer or higher-fidelity exports only after the team likes the base concept
What to read next
- Audio & Text-to-Speech for standalone voice generation
- Branding & Guidelines if the same customer also uses overlays and logos elsewhere in the widget
- Docs for the exact widget configuration and events behind the video workflow