Use this guide when the customer needs a custom visual, not a rigid template. The walkthrough shows the exact controls available before generation: freeform prompt, platform preset, sketch, references, and preview review.
What you’ll learn
- How to keep the workflow in
Generalinstead of switching to a template - Which prompt produced the final dashboard visual shown at the end of the guide
- Where
SketchandReferenceslive, even when you leave them empty - How to explain preview actions without hand-waving over the decision point
Before you start
- Open Generate
- Switch the widget to Image mode
- Keep LinkedIn Post (4:5) selected in Platform preset so the setup matches the screenshots and final output
- Leave brand guidelines off for this specific run so the prompt alone drives the image
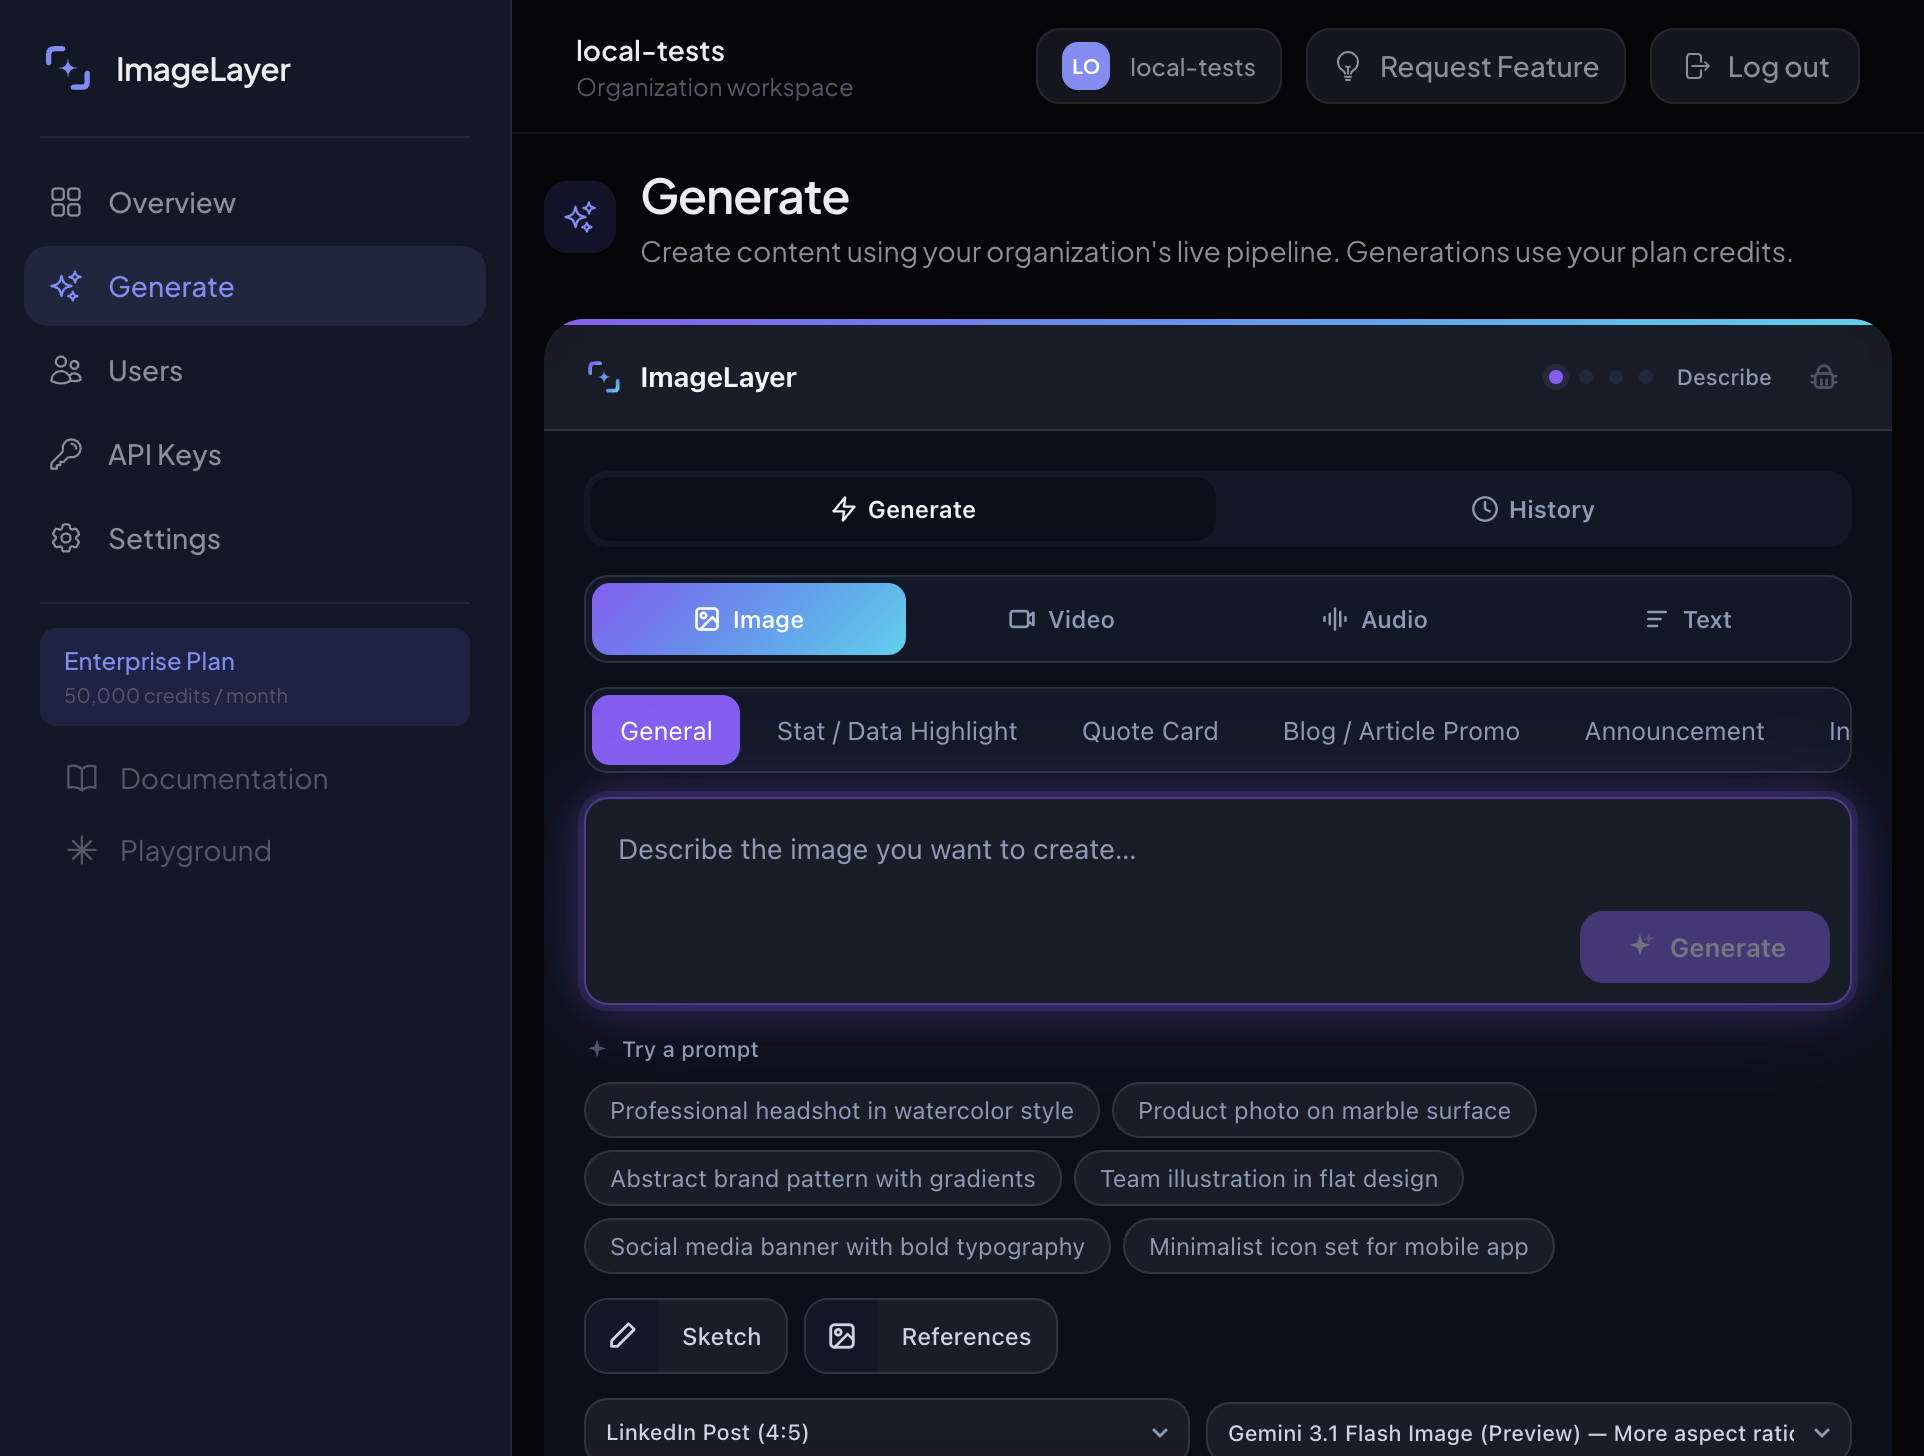
Stay in General and keep the LinkedIn Post (4:5) preset selected
Start in Image mode with General selected. Keep the walkthrough focused on the prompt rather than mixing in too many controls at once.
- Keep
Platform presetonLinkedIn Post (4:5). - Leave the
Try a promptchips unused for this run. - Leave
SketchandReferencesclosed until the next step. - Do not switch to a content-type template.
- Keep the model on the default image option shown in the UI.
Expected result
You have a clean prompt-driven image workflow with the same 4:5 publishing preset used throughout the rest of the guide.
Use a prompt that reads like a design brief
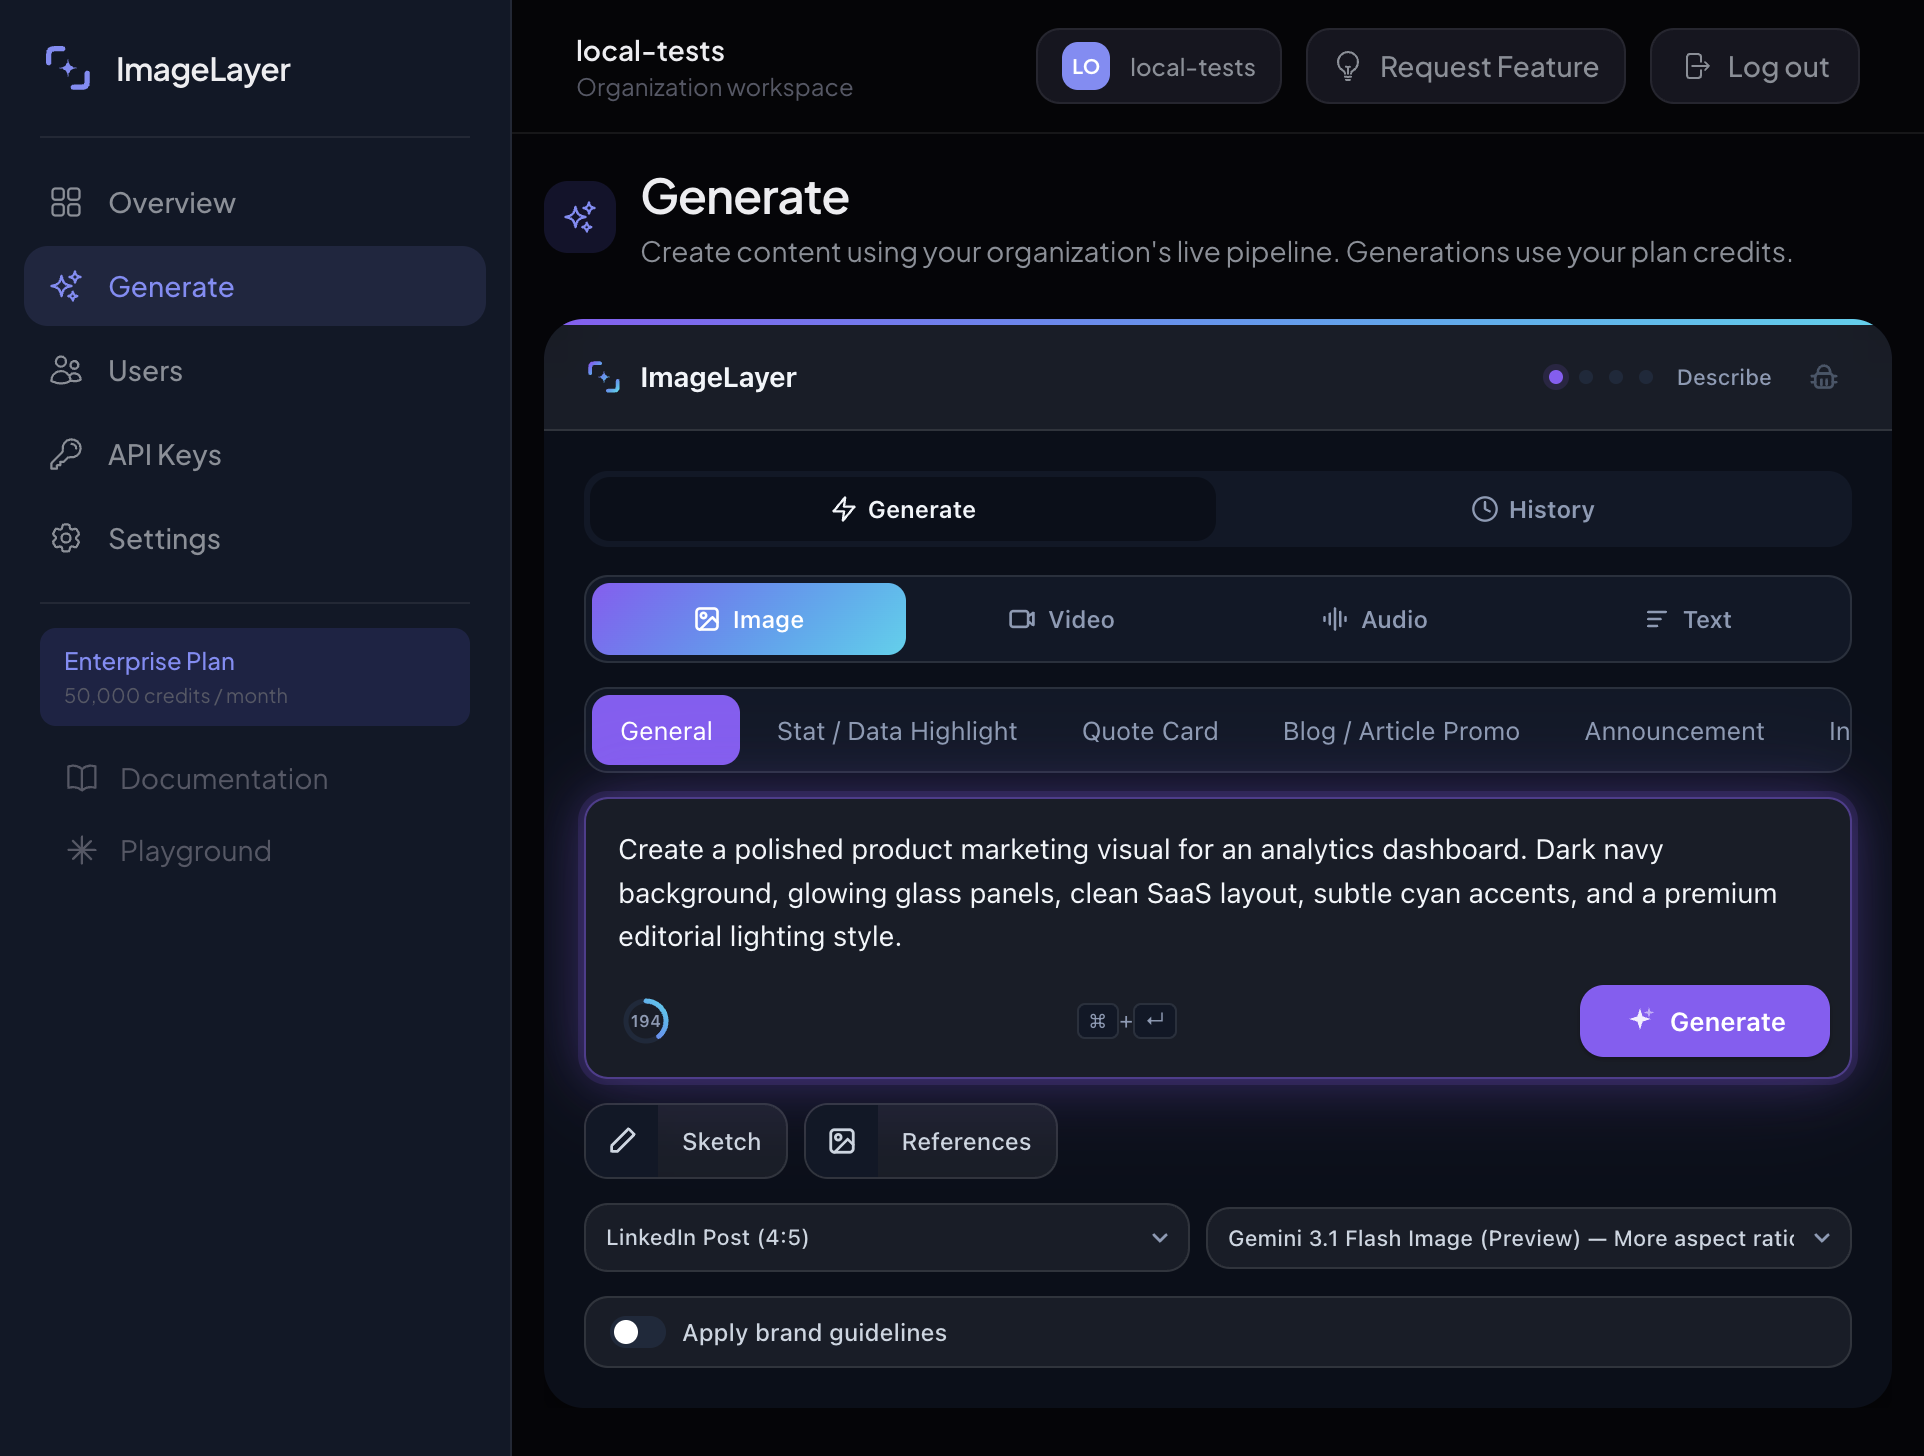
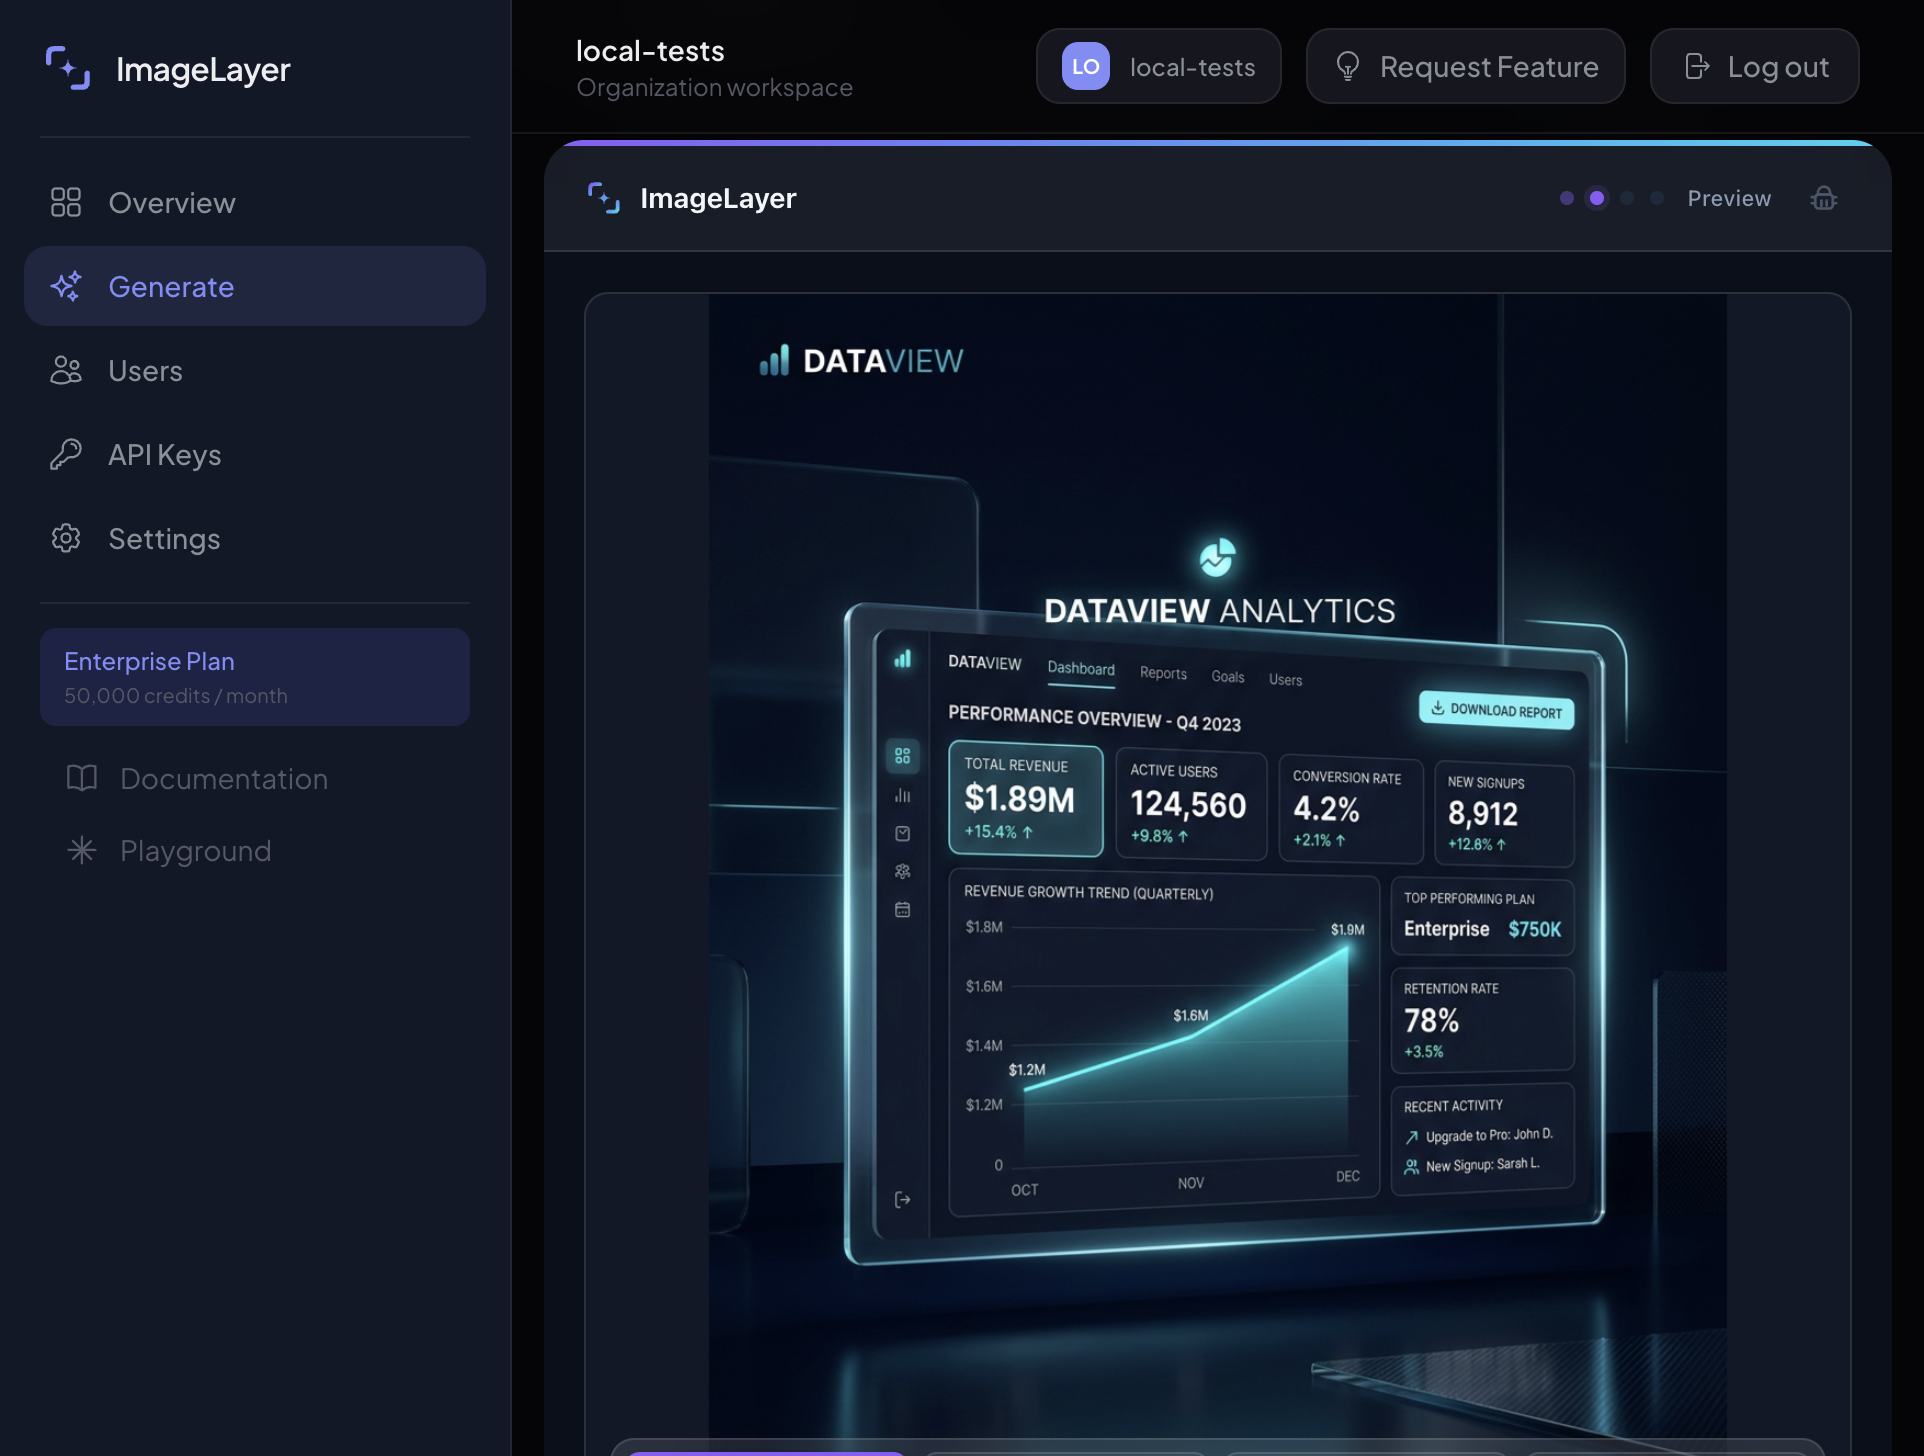
Paste this exact prompt into the main textarea:
Create a polished product marketing visual for an analytics dashboard. Dark navy background, glowing glass panels, clean SaaS layout, subtle cyan accents, and a premium editorial lighting style.- Name the subject first: the analytics dashboard visual.
- Name the visual treatment second: dark, glowing, premium, editorial.
- Keep
Platform presetonLinkedIn Post (4:5). - Keep the brief tight enough that another human could art-direct from it.
- Click
Generate.
Expected result
The first draft is specific enough to judge immediately instead of leaving the operator to guess what the model should do.
Open Sketch and References so the team sees where manual steering lives
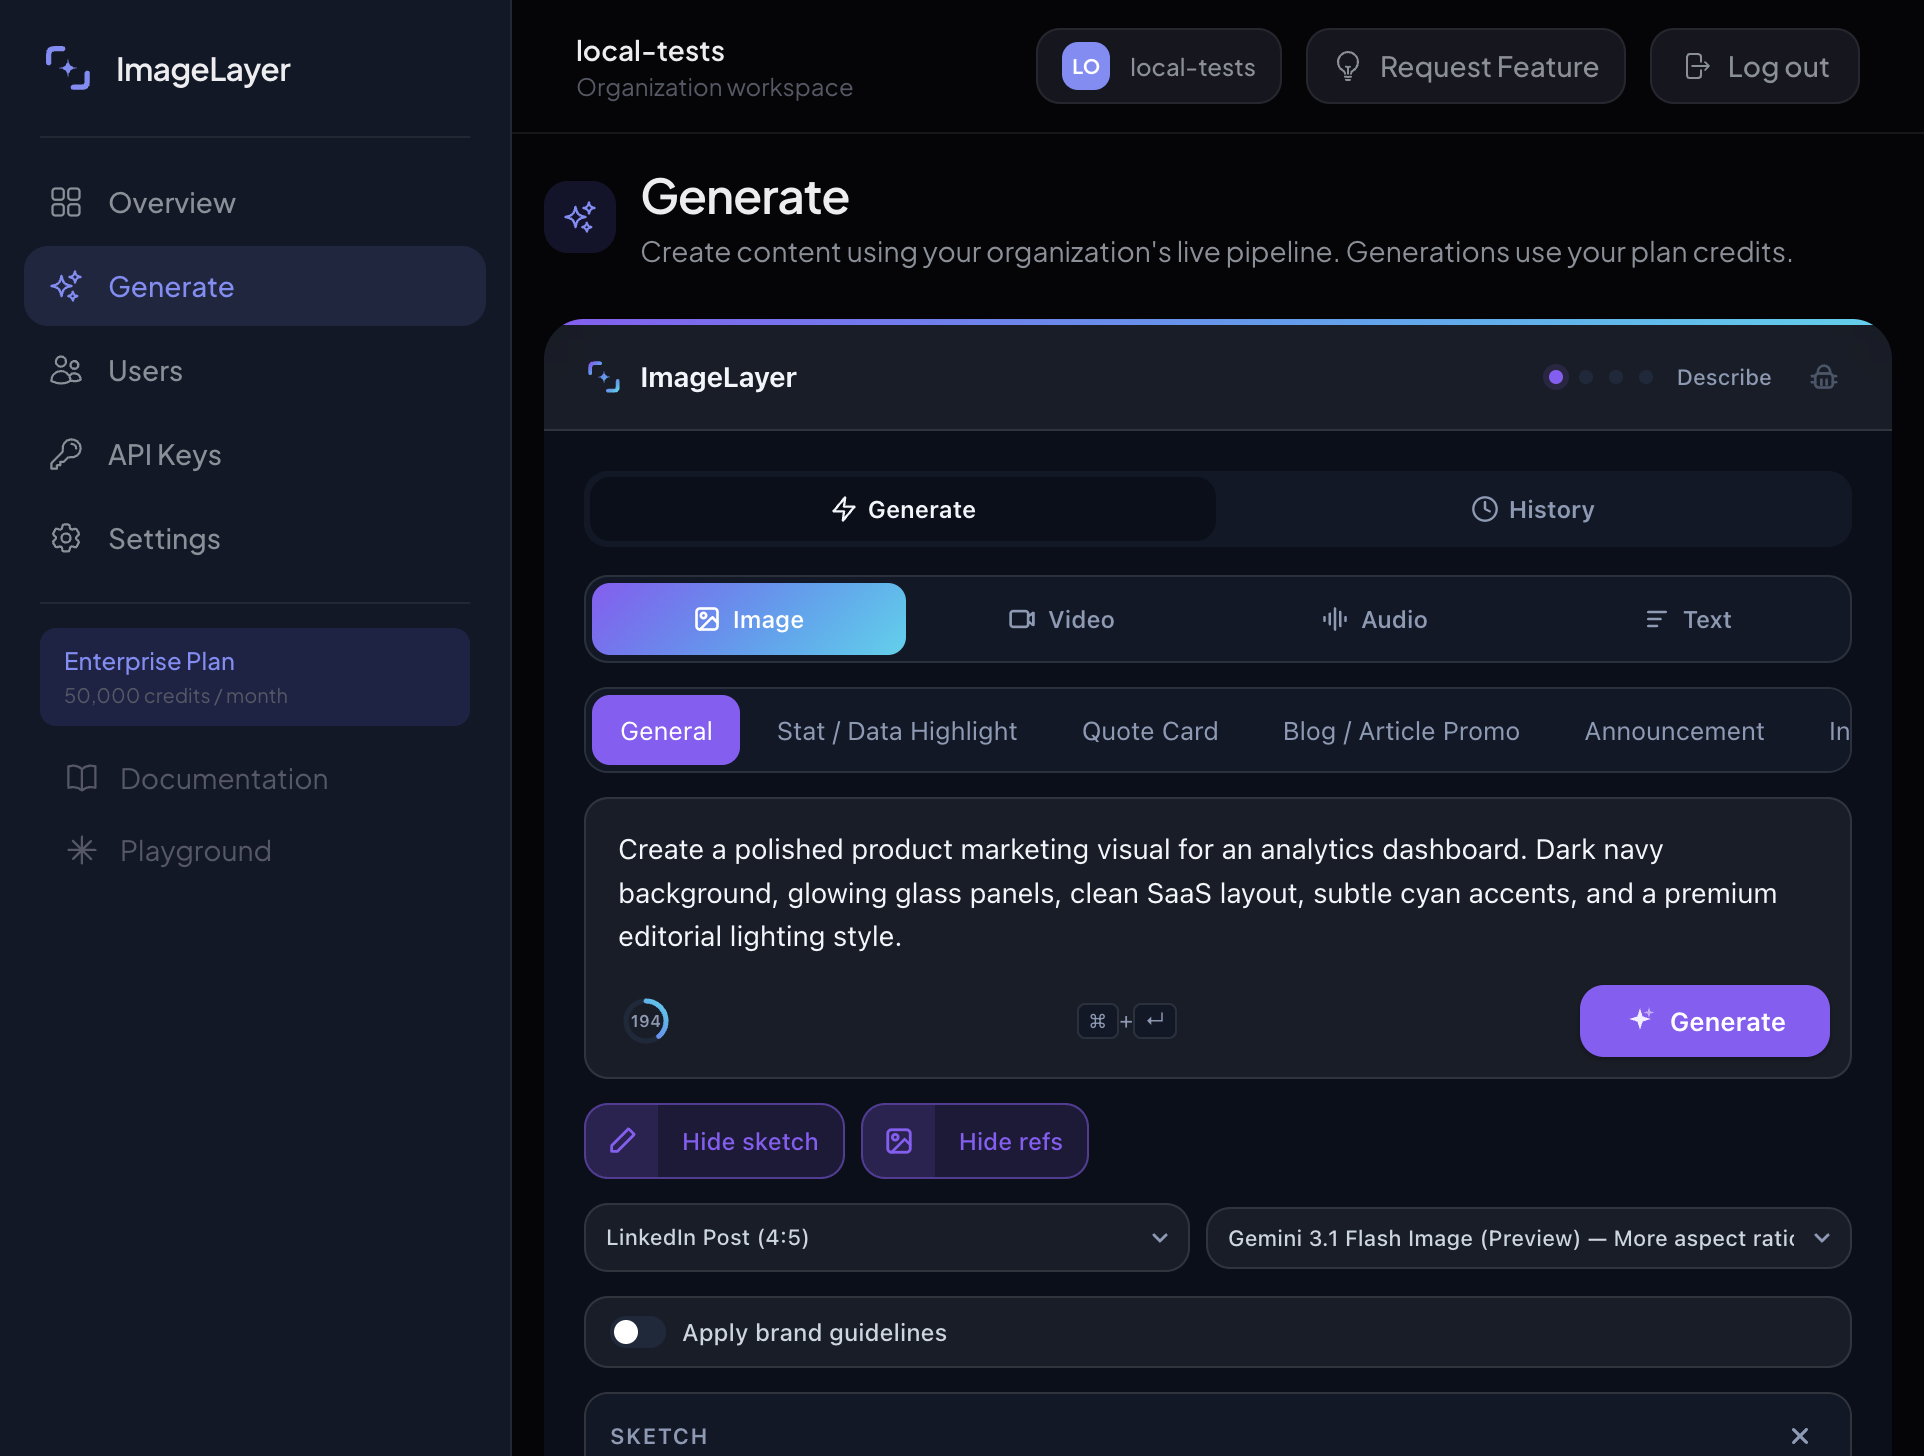
Open the two helper controls that sit below the main image prompt. You do not need to upload anything in this specific run; the goal is to teach where the controls are and what each one is for.
- Click
Sketchto reveal the rough layout canvas. - Click
Referencesto reveal theAddslot for reference images. - Once both panels are open, the pills change to
Hide sketchandHide refs. - Leave both panels empty for this prompt-only example.
- Use
Sketchwhen placement matters most, and useReferenceswhen mood, angle, or lighting matters most.
Expected result
The operator understands where to add layout guidance or reference imagery when text alone is not enough.
Use preview to decide whether to keep, revise, or brand the result
When the dashboard visual appears, narrate the decision using the button labels exactly as they appear in the footer.
- Use
Generate againwhen the direction is right but the execution is weak. - Use
Edit promptwhen the brief itself needs better instructions. - Use
Saveif the raw image is already ready to use. - Use
Brand itwhen the image is approved and now needs an overlay or logo.
Expected result
A strong output can be saved immediately or moved into branding, while a weak one can be corrected without restarting the whole explanation.
Sample generated image
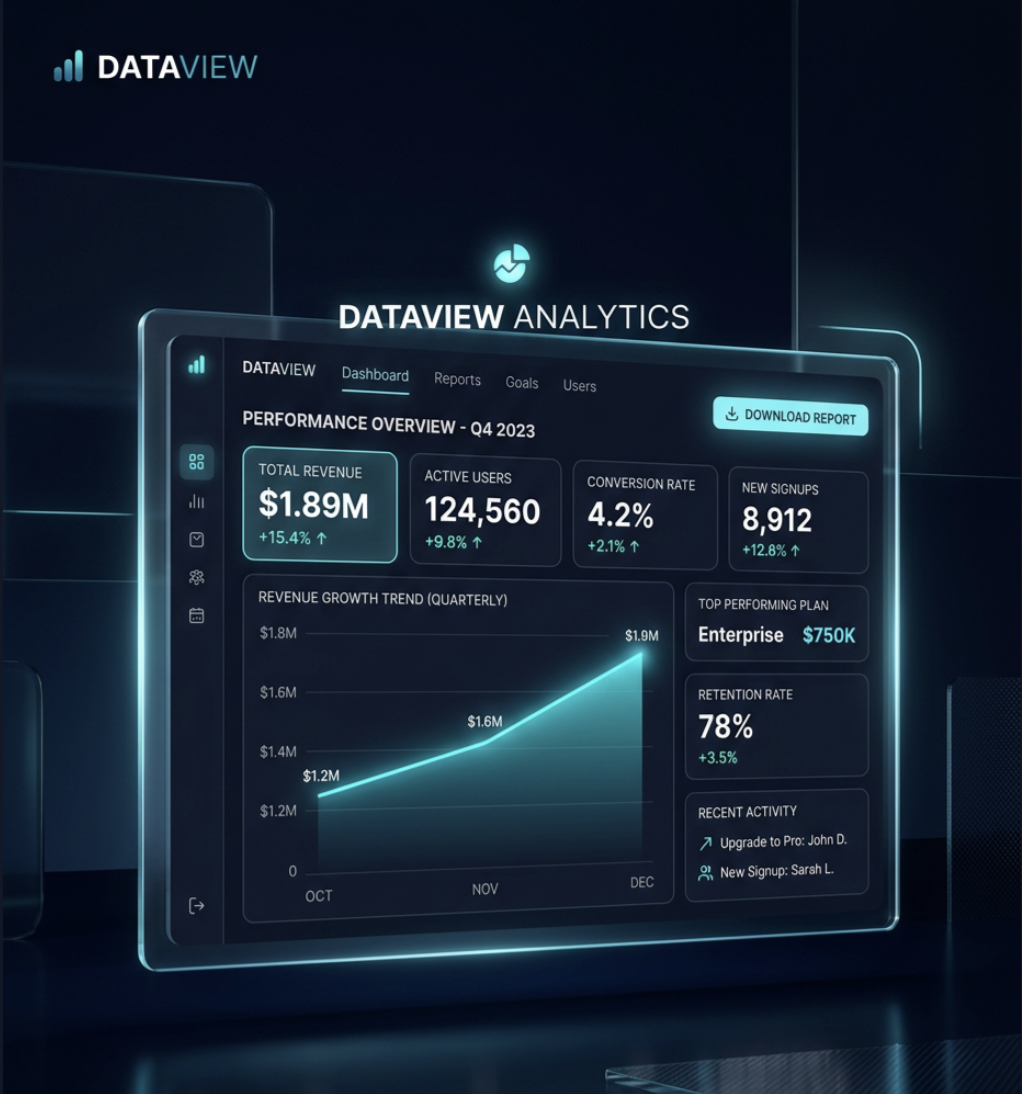
This saved result is the same accepted dashboard visual shown in the preview above, so the guide proves exactly what the freeform image workflow produced.
Keep the baseline result
The walkthrough above remains the baseline ImageLayer image flow. It uses the model shown in the screenshots for that run, so the saved dashboard visual and screenshots stay useful as a comparison point for teams evaluating the standard Gemini / Nano Banana-style image path.
Do not replace that baseline when you introduce GPT Image 2. Add GPT Image 2 as a second pass when the customer asks, “What changes if I choose the premium OpenAI image model?”
When to choose GPT Image 2
Use GPT Image 2 when the image carries production constraints that are expensive to fix by hand:
- the output includes short, exact text such as headlines, labels, badges, or UI copy
- the customer uploaded a reference image and the product, person, layout, or lighting must stay recognizable
- the asset is a product photo, packaging mockup, infographic, diagram, UI screen, poster, or ad creative
- the team would rather spend more credits than review several weaker drafts
For rough exploration, a faster or cheaper image model can still be the right first pass. For customer-facing assets where first-pass quality and text accuracy matter, GPT Image 2 is the safer choice.
How to compare Gemini / Nano Banana and GPT Image 2
Run the same asset idea twice and document both runs:
- Baseline run: keep the default image model shown in the widget screenshots, use the same platform preset, and save the result as the fast/default path.
- GPT Image 2 run: switch only the model to
GPT Image 2, keep the same preset, and tighten the prompt around exact text, product labels, UI copy, or preservation constraints.
In customer-facing docs, always state:
- model used
- content type or
General - platform preset
- whether
Apply brand guidelineswas on or off - the exact prompt or exact field values
- the actual generated image
That lets a buyer compare speed/cost/default quality against GPT Image 2’s text and layout reliability without guessing which result came from which model.
GPT Image 2 prompt structure
When the model is set to GPT Image 2, teach customers to write prompts in labeled blocks instead of one long paragraph:
Scene:
Where the image exists, including background, time of day, and environment.

Subject:
The main product, person, screen, or object.

Important details:
Materials, texture, camera angle, lighting, composition, exact text, and mood.

Use case:
Product mockup, social ad, UI screen, infographic, poster, or editorial photo.

Constraints:
What must not appear, and what must stay unchanged.
For revisions against a reference image, switch to edit language:
Change:
The one thing that should change.

Preserve:
The product geometry, label text, face, pose, layout, lighting, camera angle, or background that must stay locked.

Constraints:
No extra objects, no logo drift, no additional text, no watermark.
The preserve list is not optional. It is what keeps a background swap from becoming a full redesign.
Best practices to share with customers
- Write prompts like short art directions, not keyword piles
- Quote exact text and specify placement, type style, and size when the image includes readable copy
- Use
Change / Preserve / Constraintsfor reference-image edits - Open
SketchandReferencesonly when the base prompt is no longer enough - Use preview before branding so teams do not waste finishing steps on a weak base image
- Keep the first demo simple, then add helper inputs in the second pass
What to read next
- Content Type Templates for structured repeatable graphics
- Branding & Guidelines for overlays, logos, and brand constraints
- GPT Image 2 Playbook for copy-paste production prompts
- Docs for the exact widget configuration behind these controls